Final Project, 4 Toys – Post #6

This is it. The end of the 2 credit course known as Art Toy Design. It was hard. I tried to do a lot from home, but it’s challenging because a lot of the fabrication resources are at school.  But so is everyone competing for them in addition to malfunctioning.

The Final.

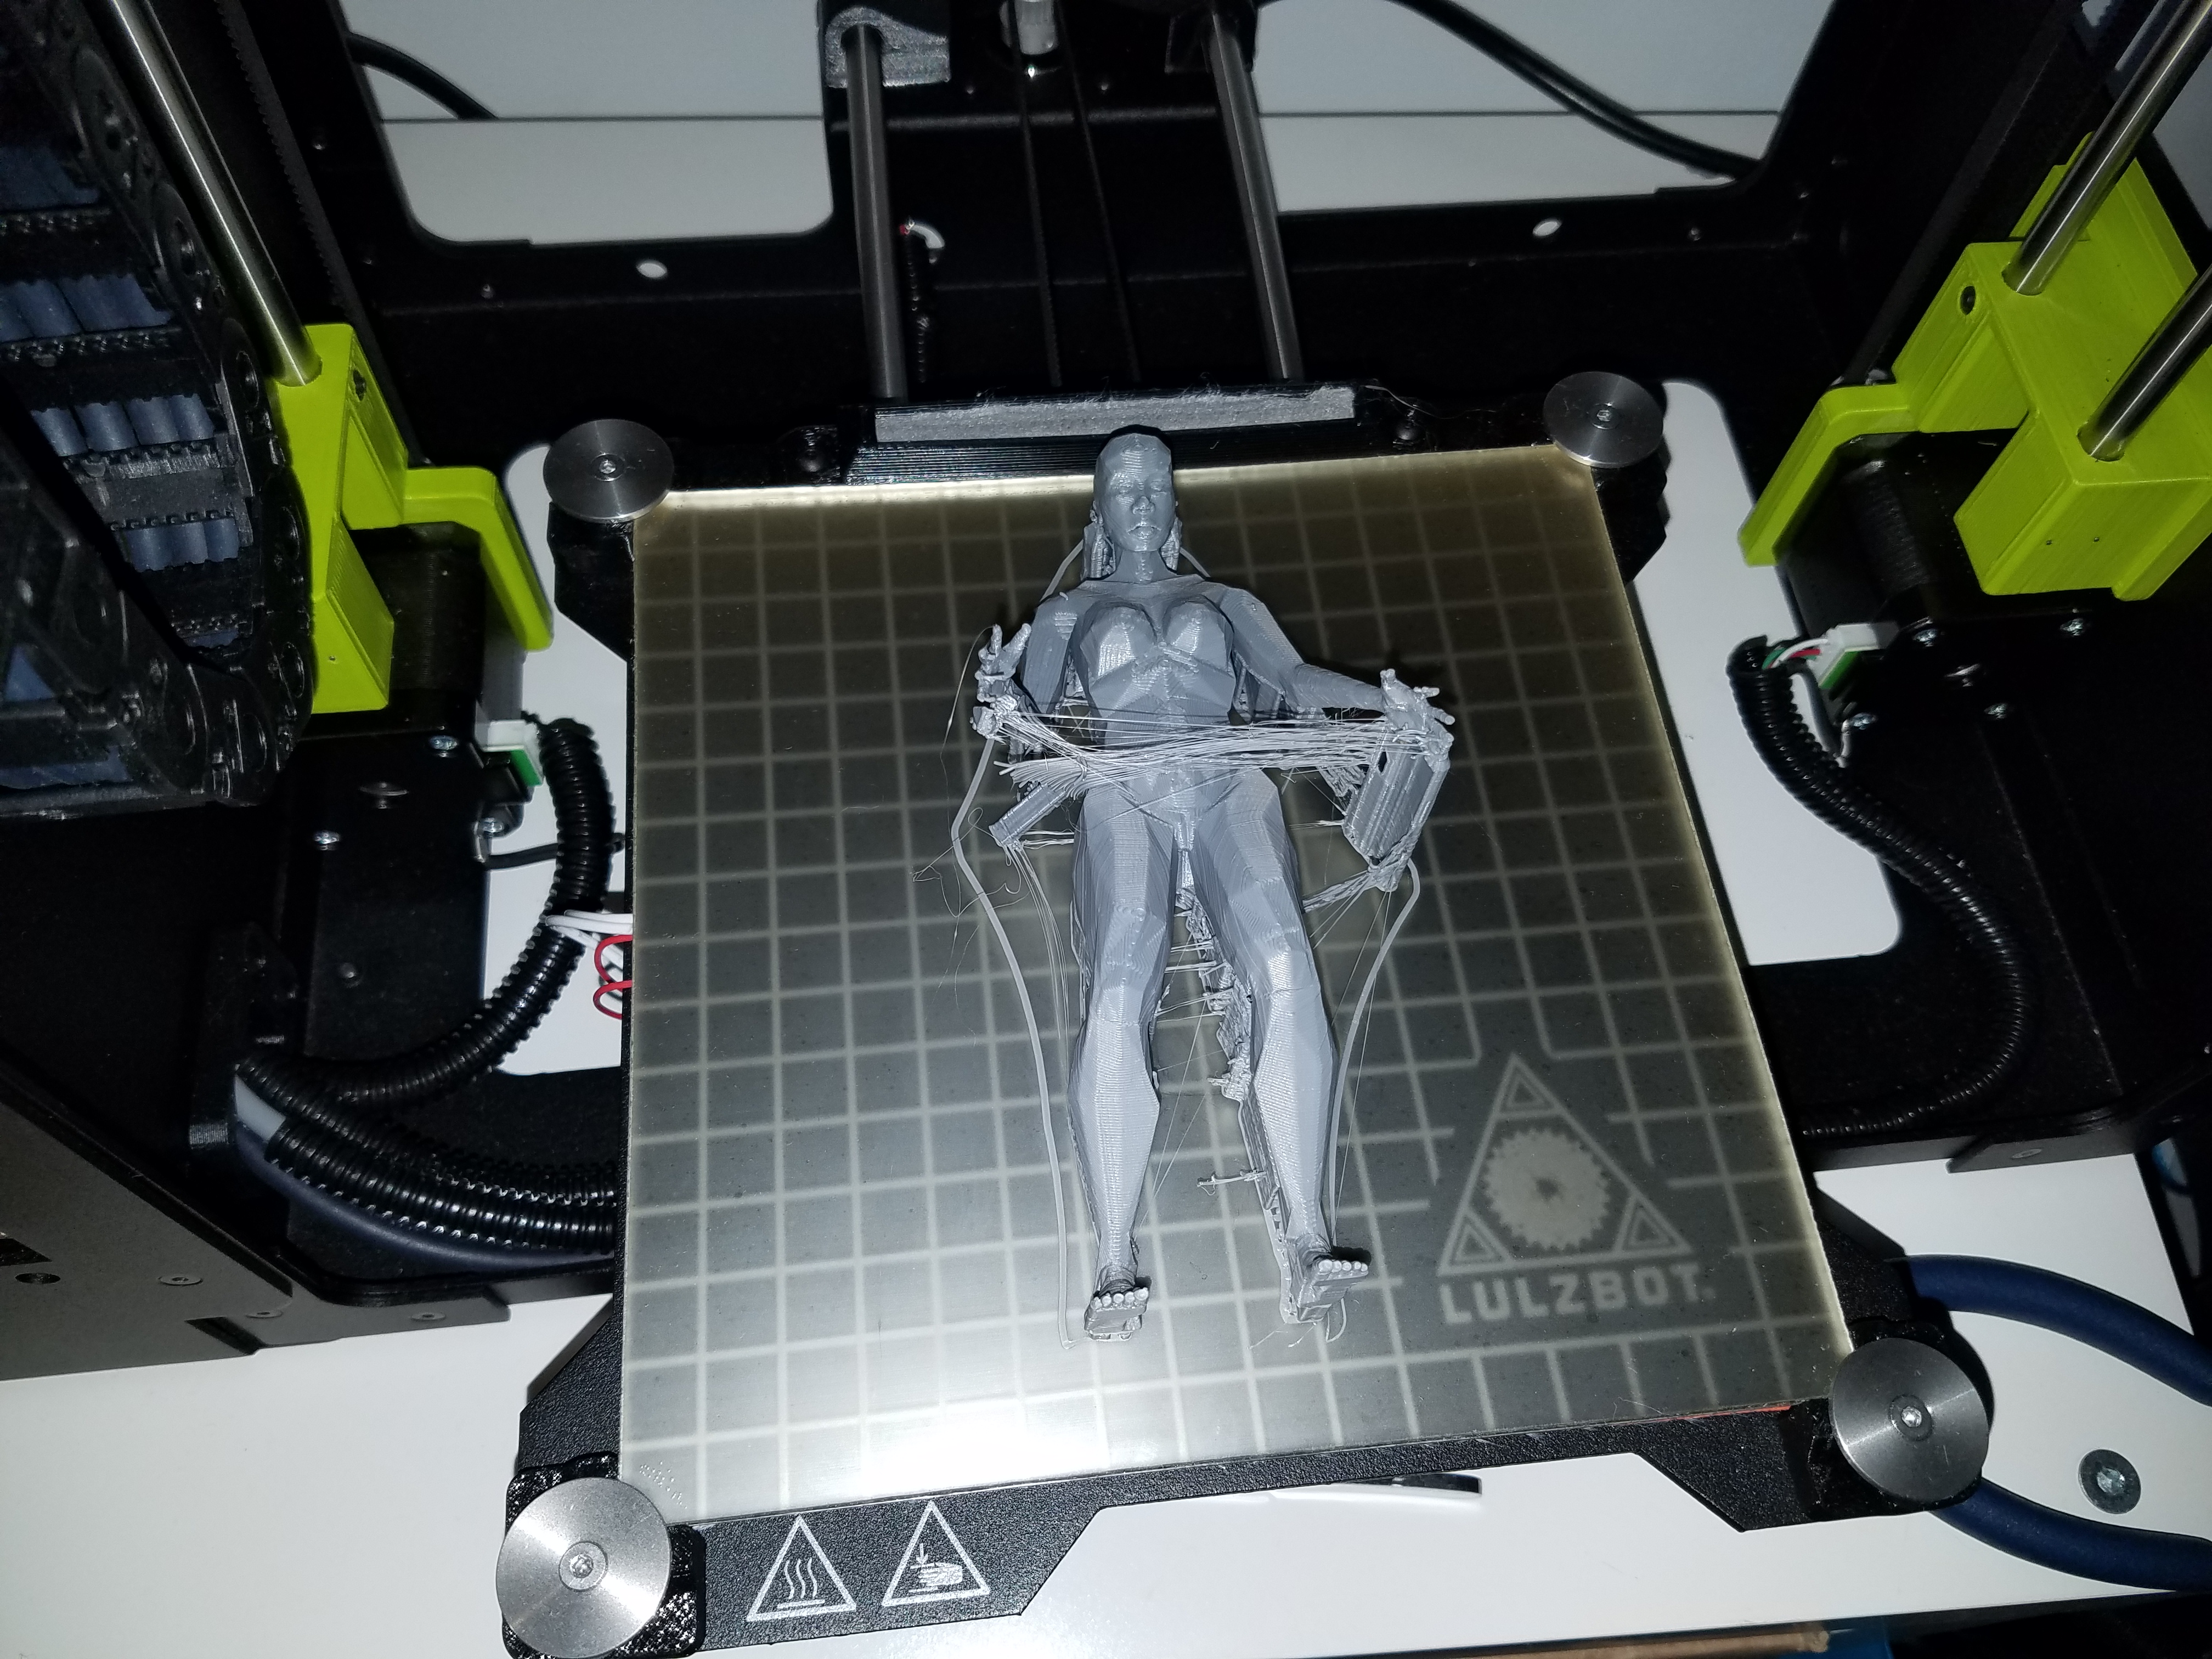
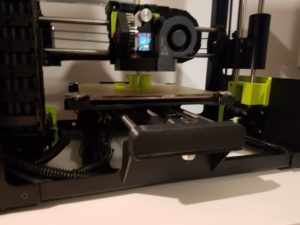
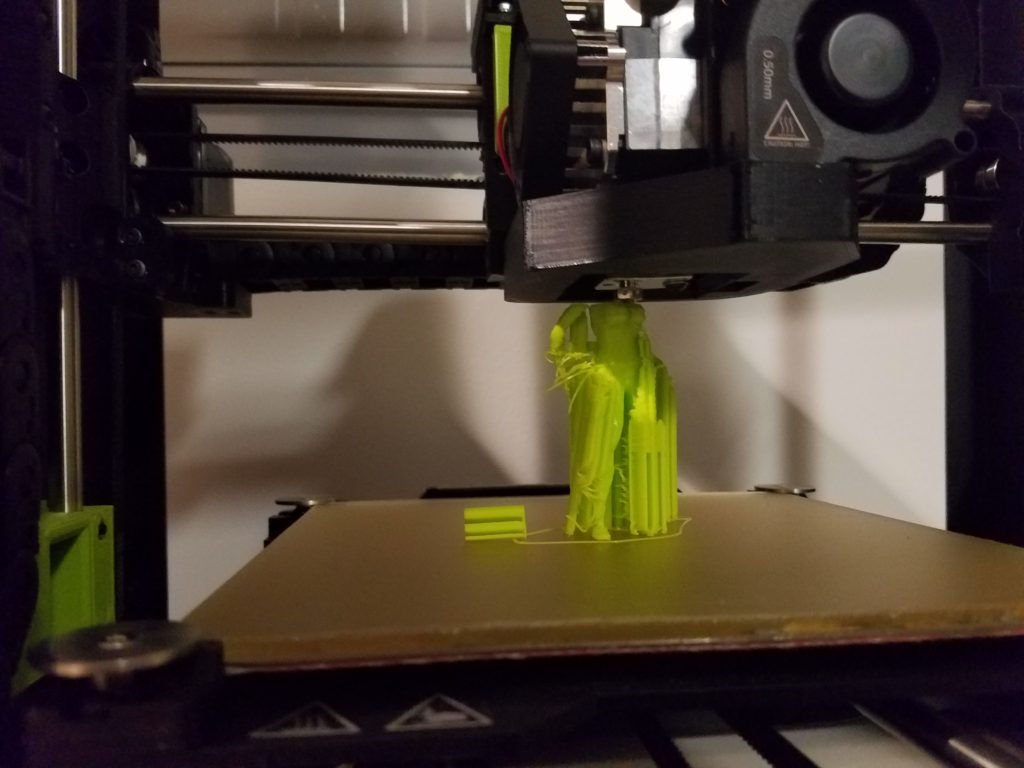
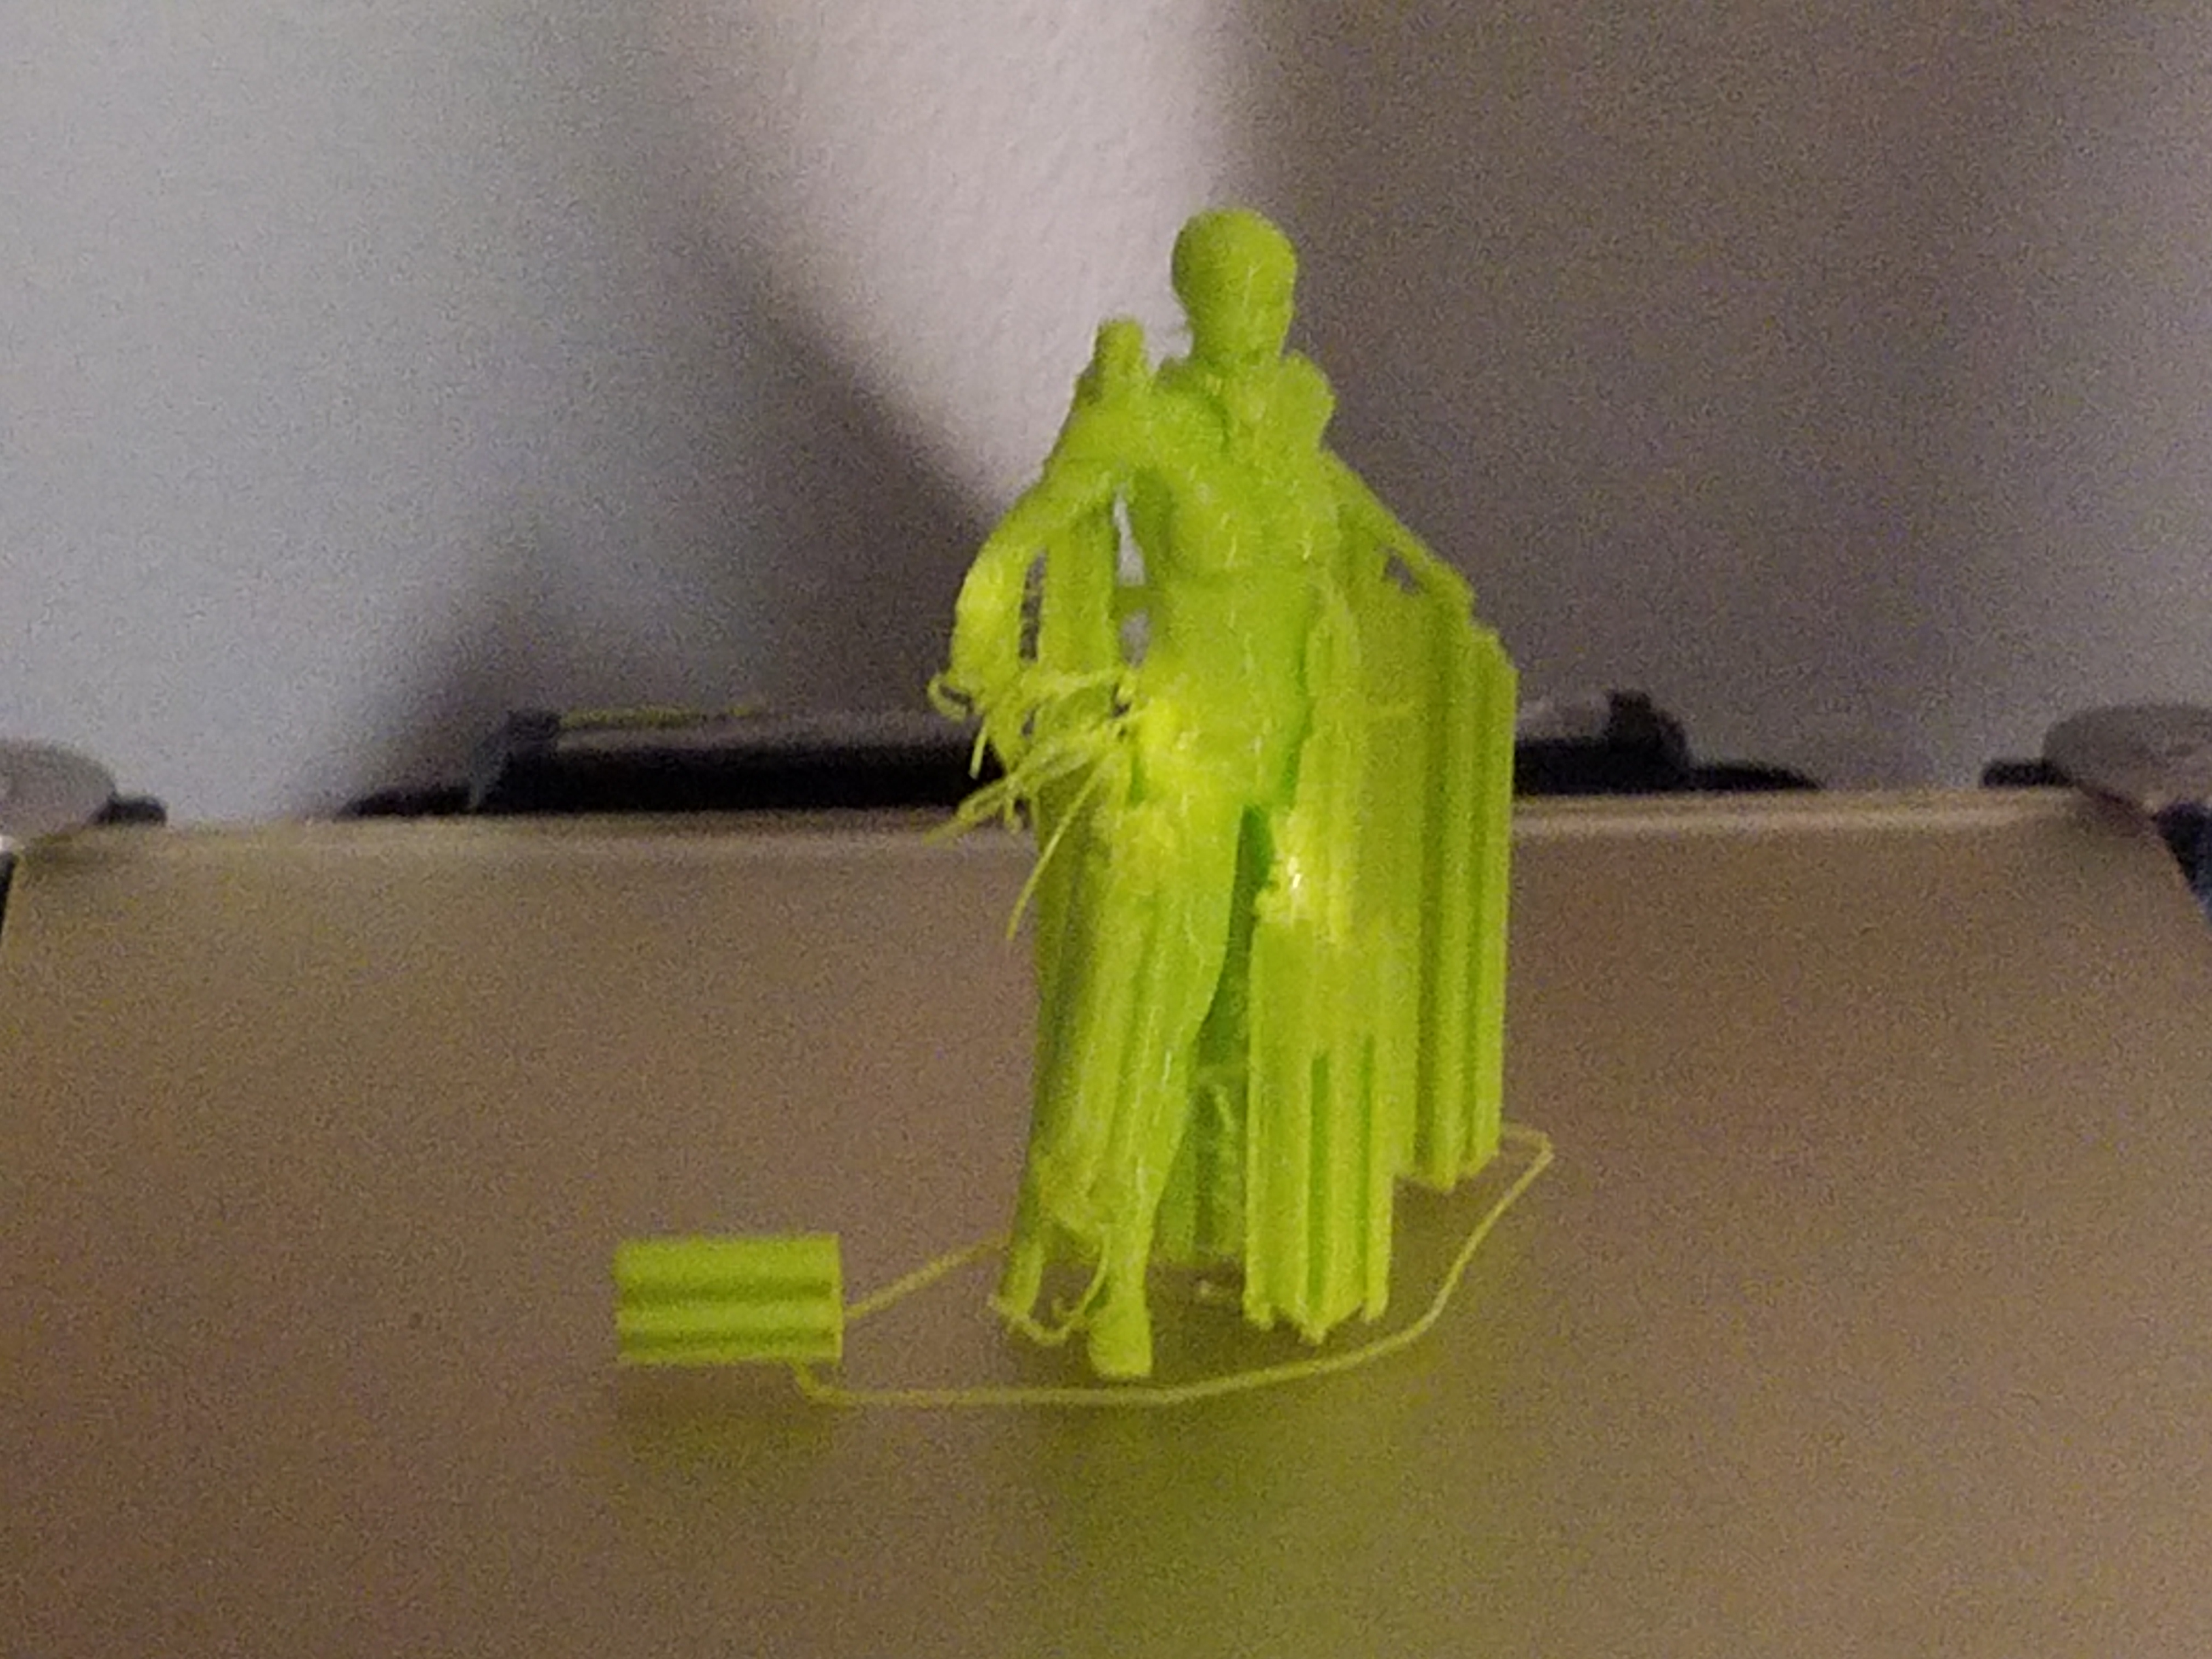
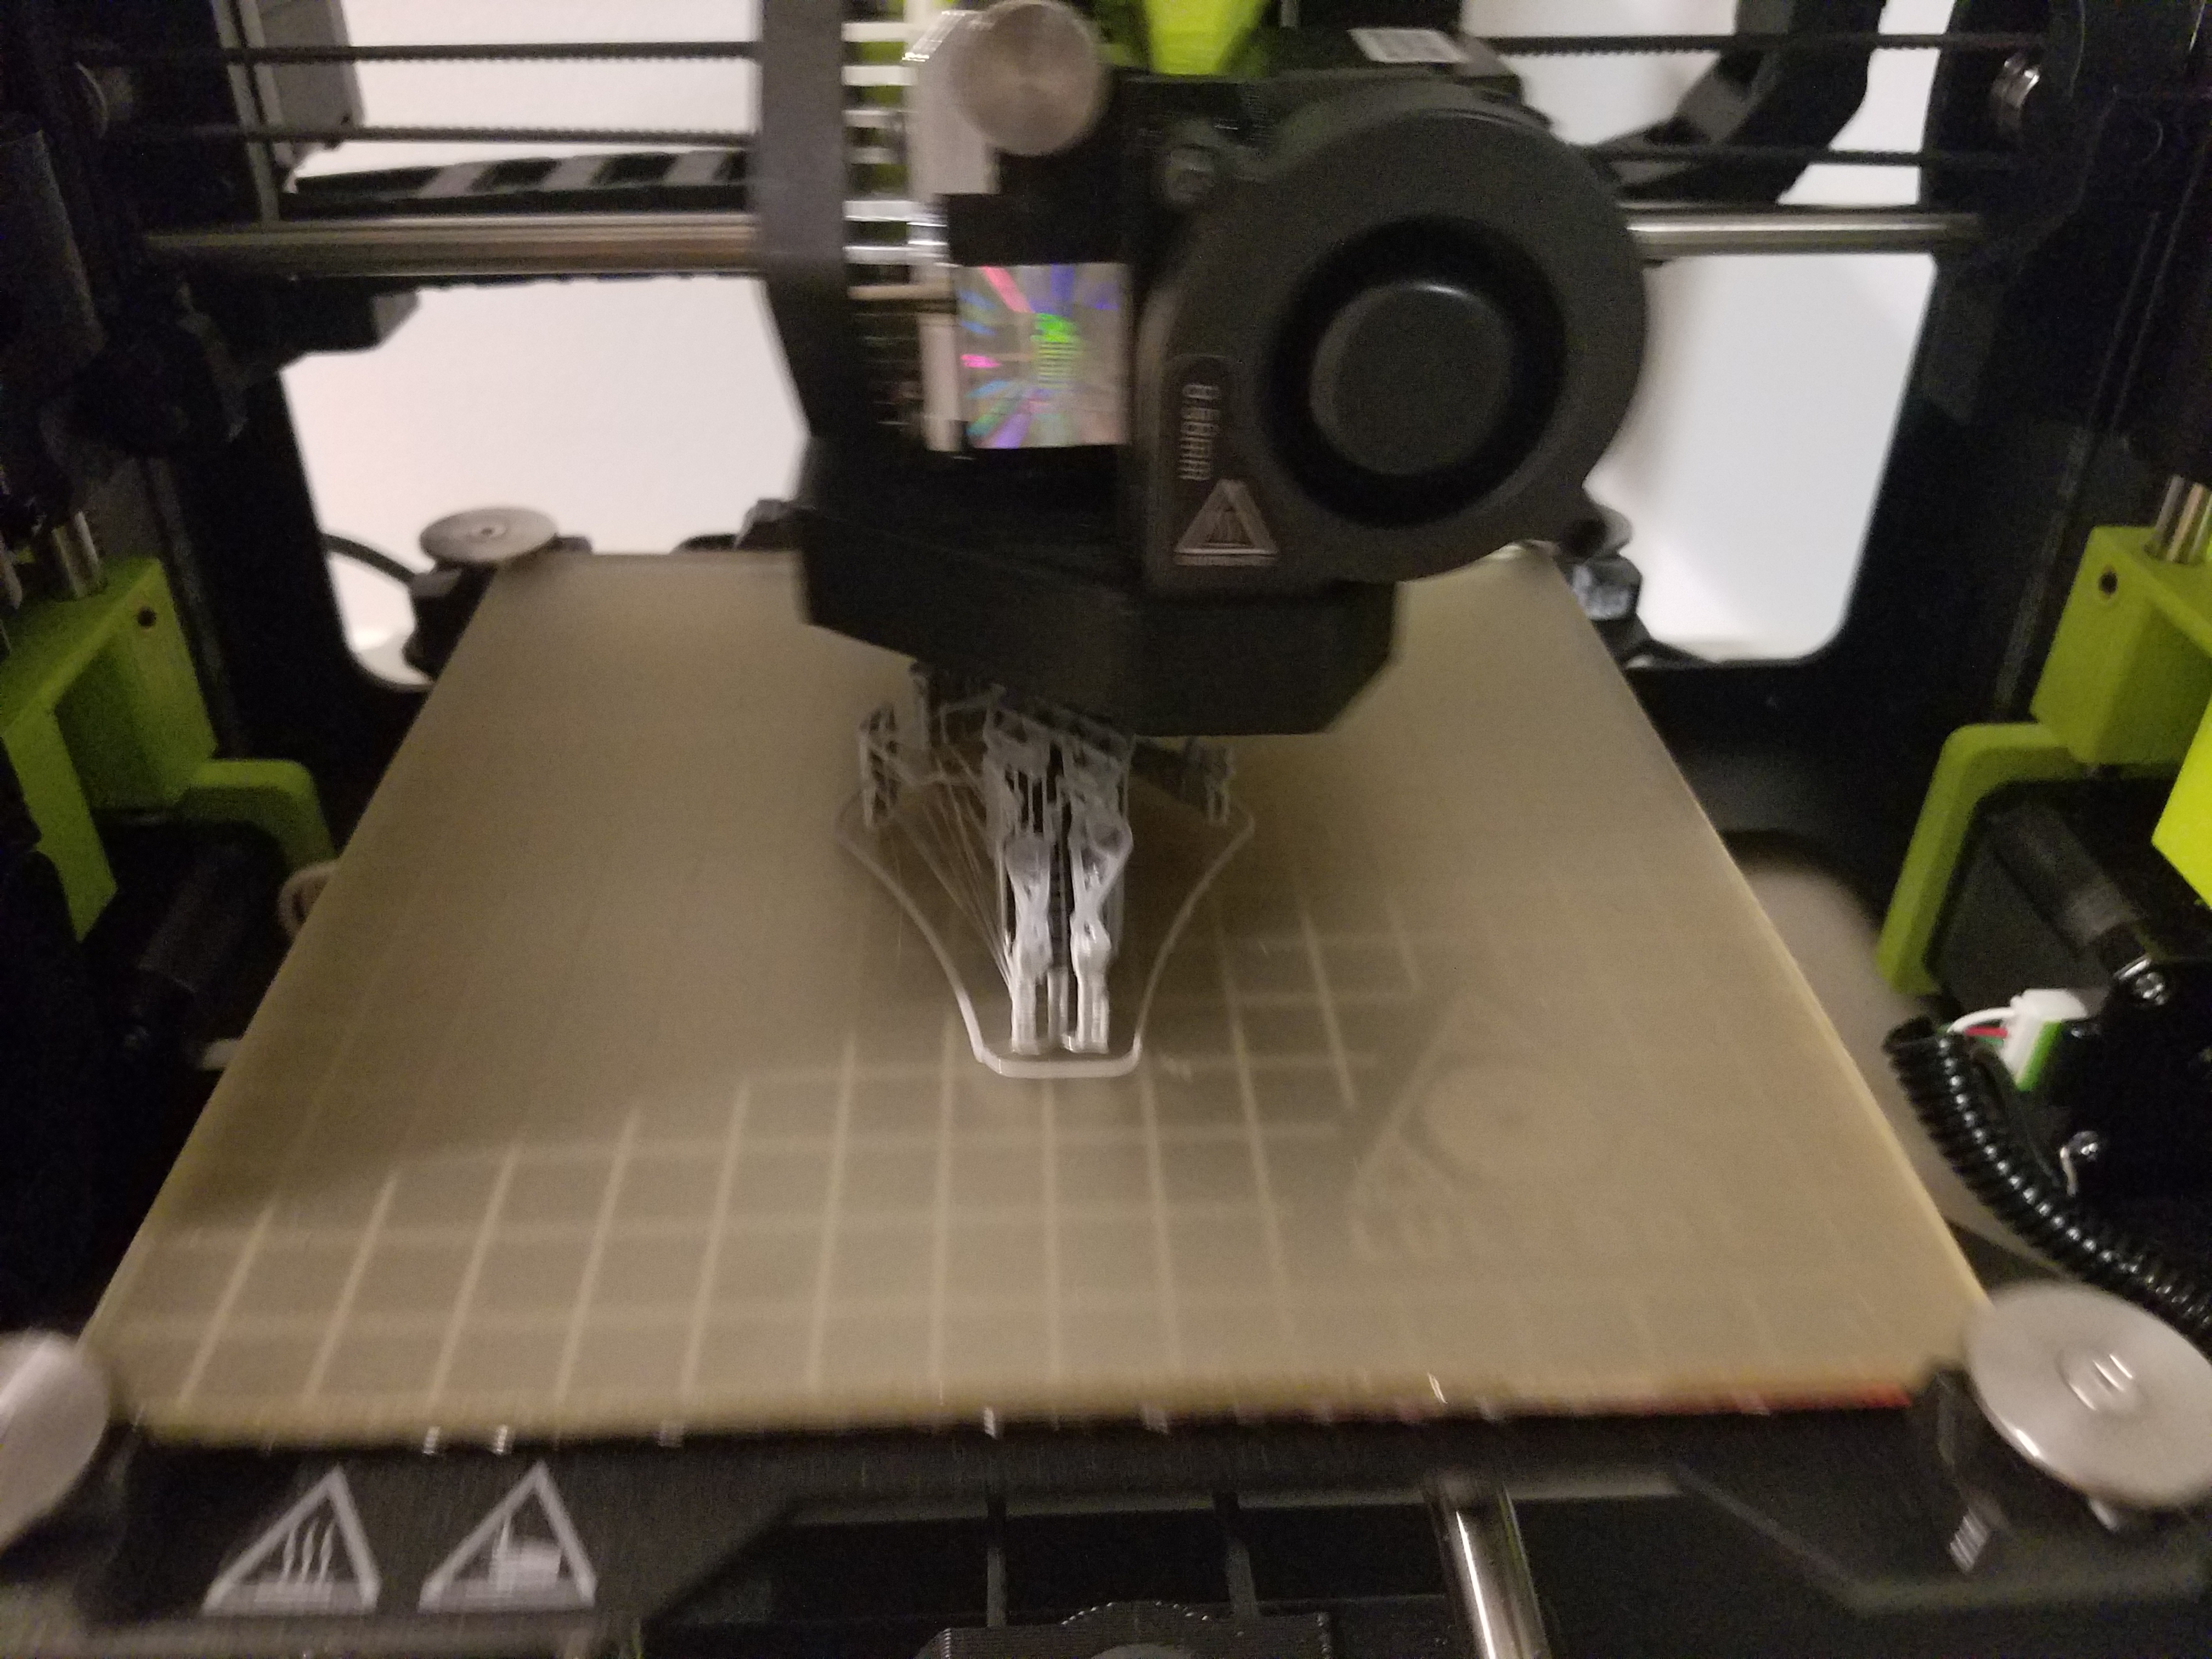
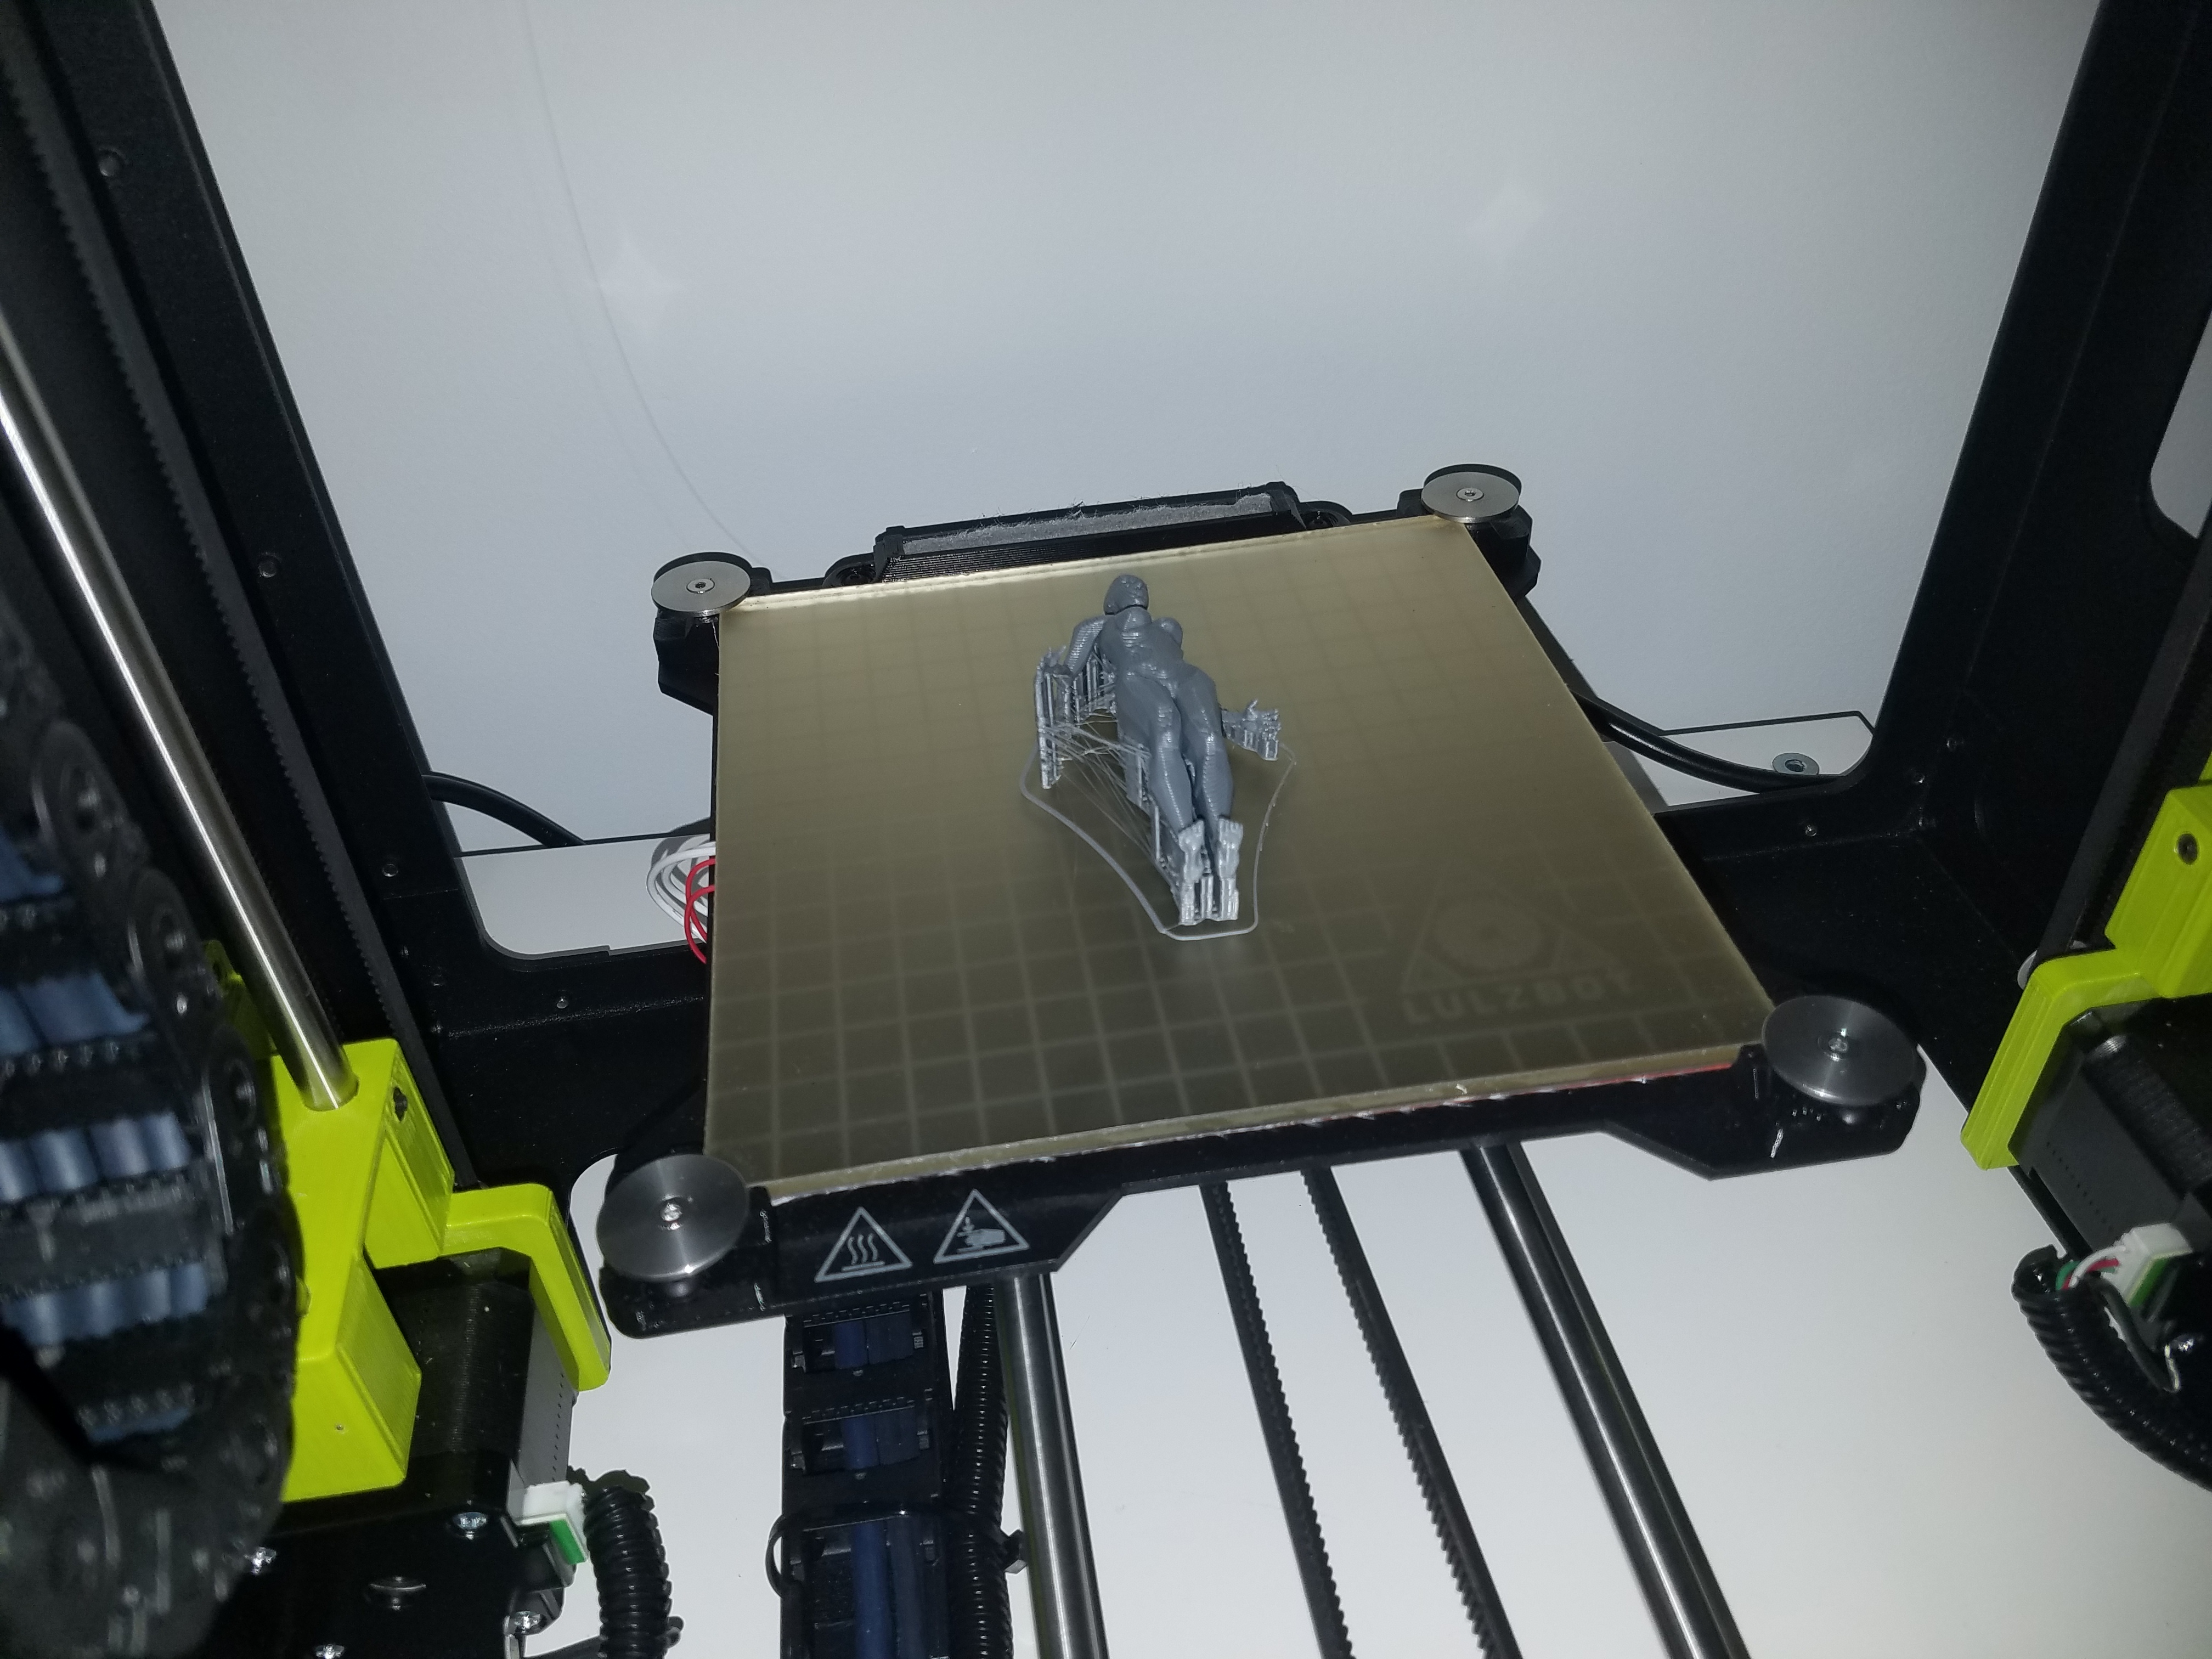
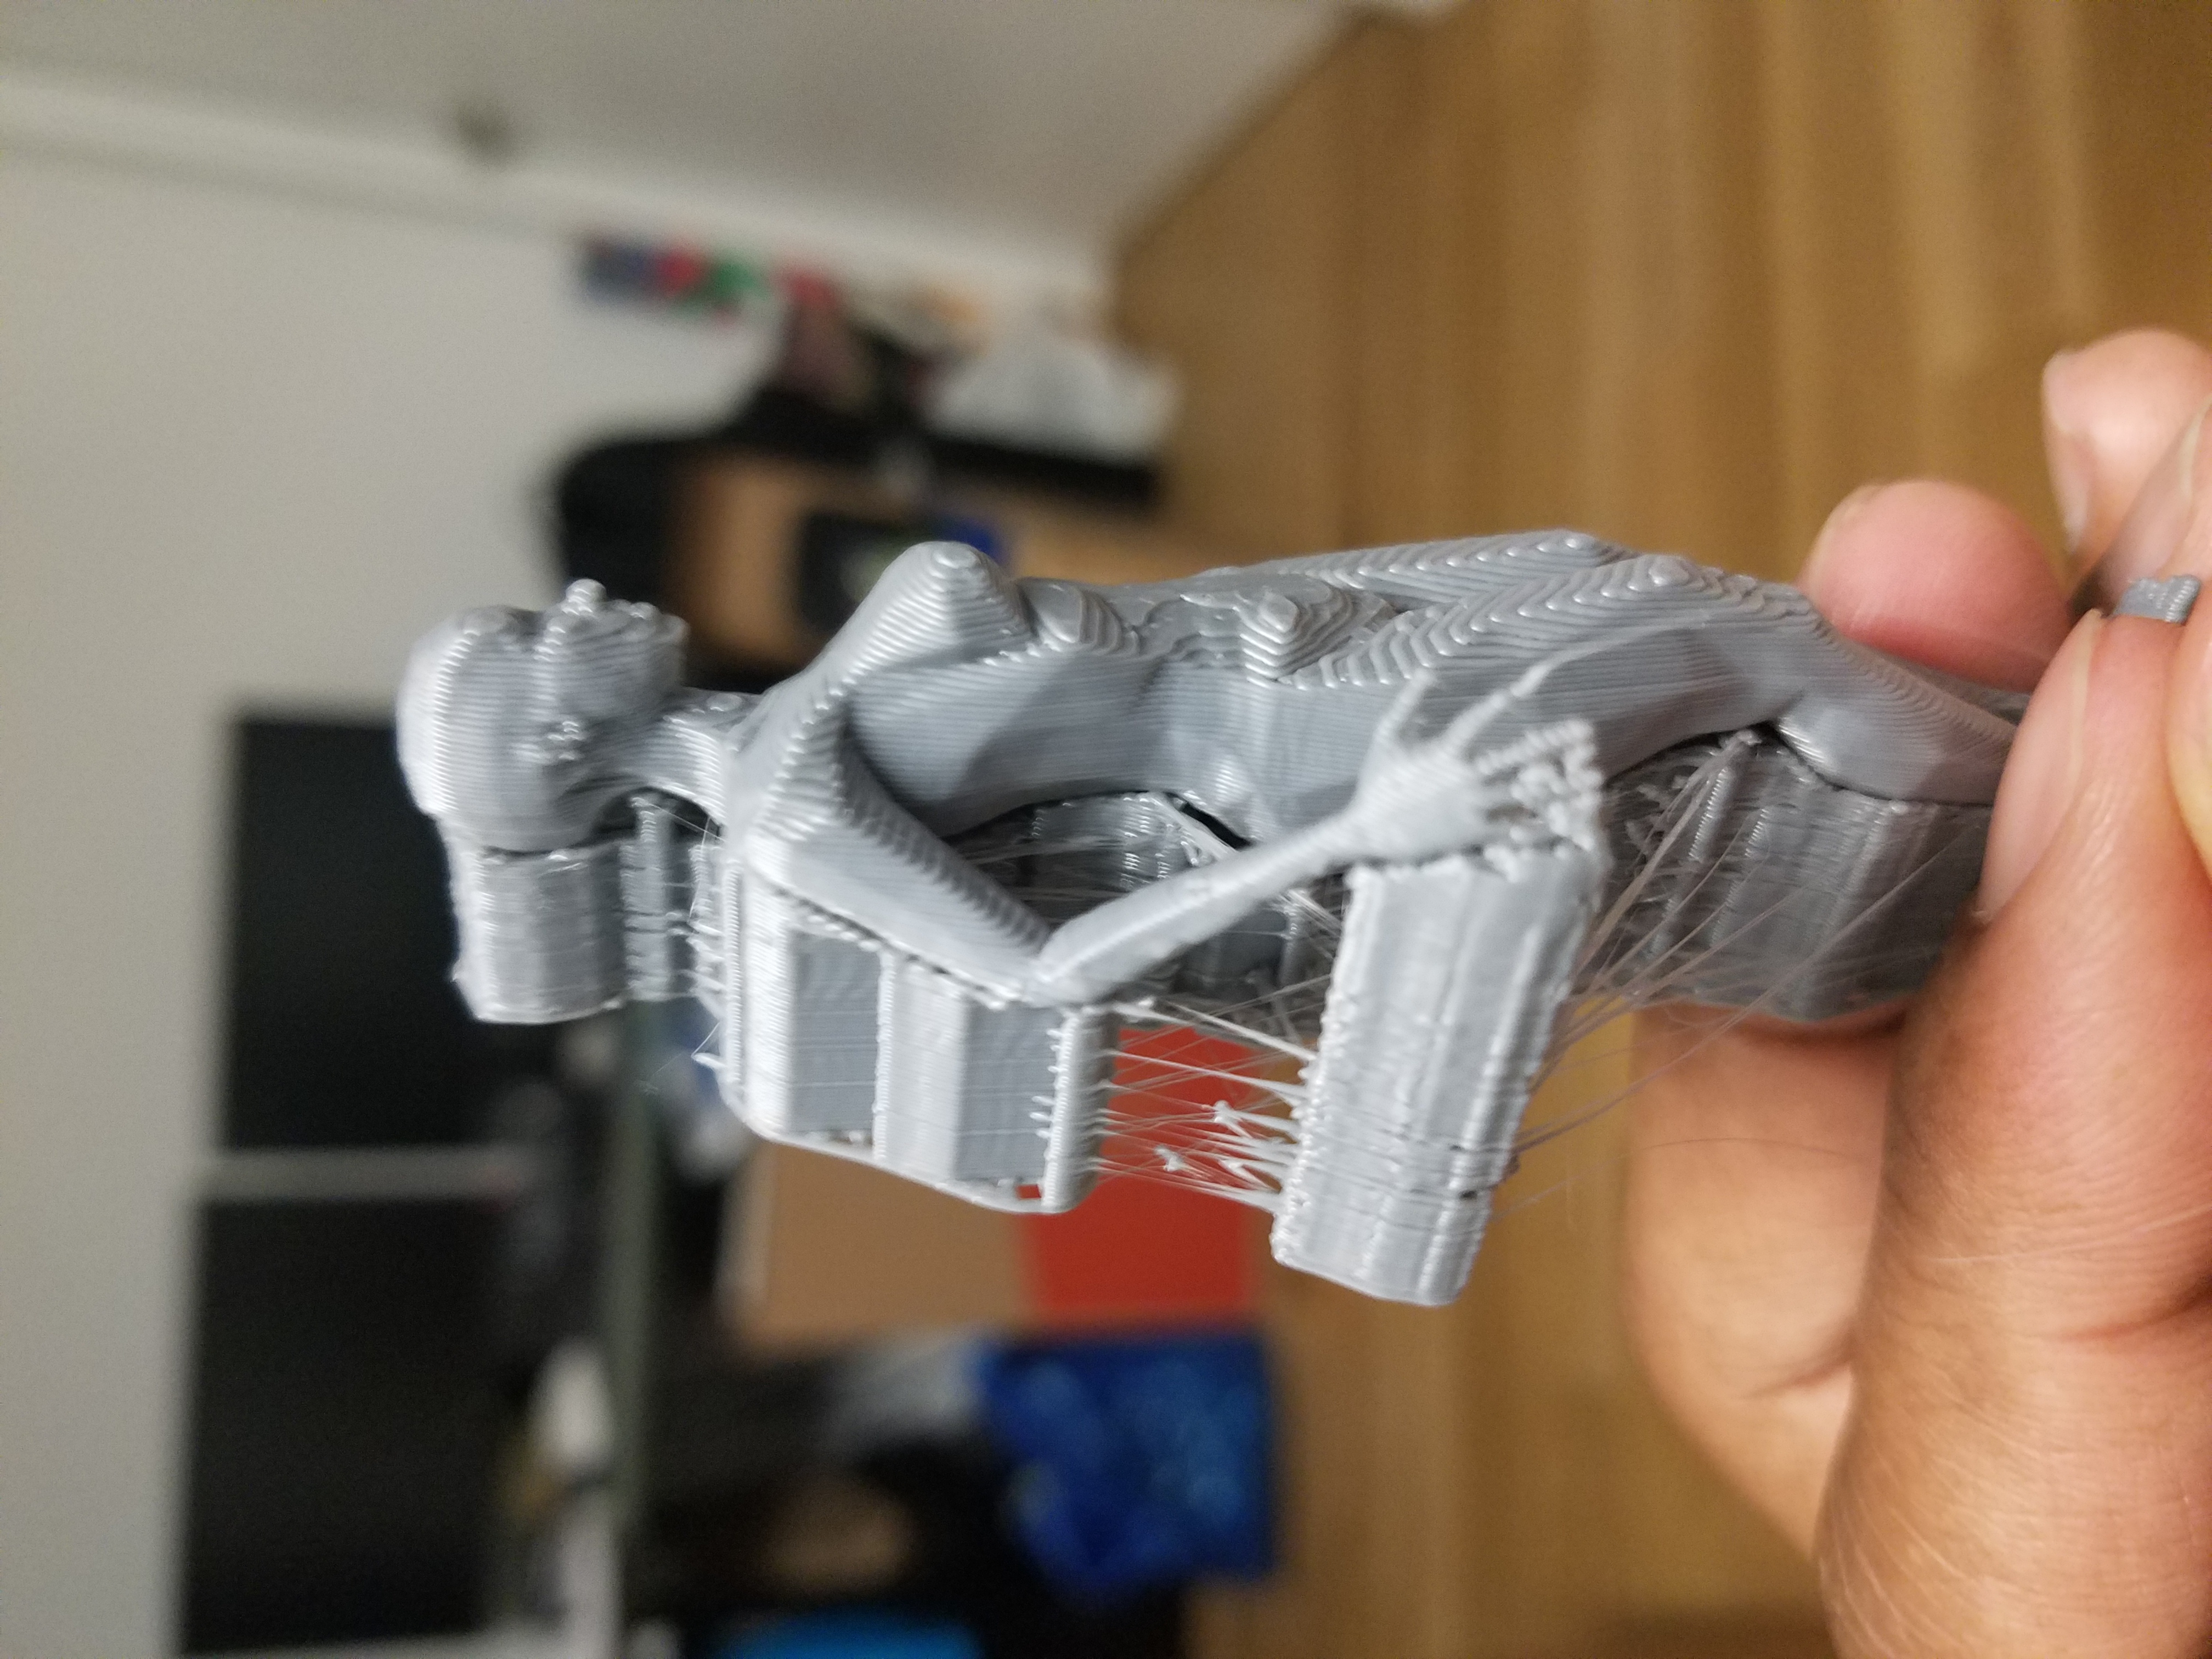
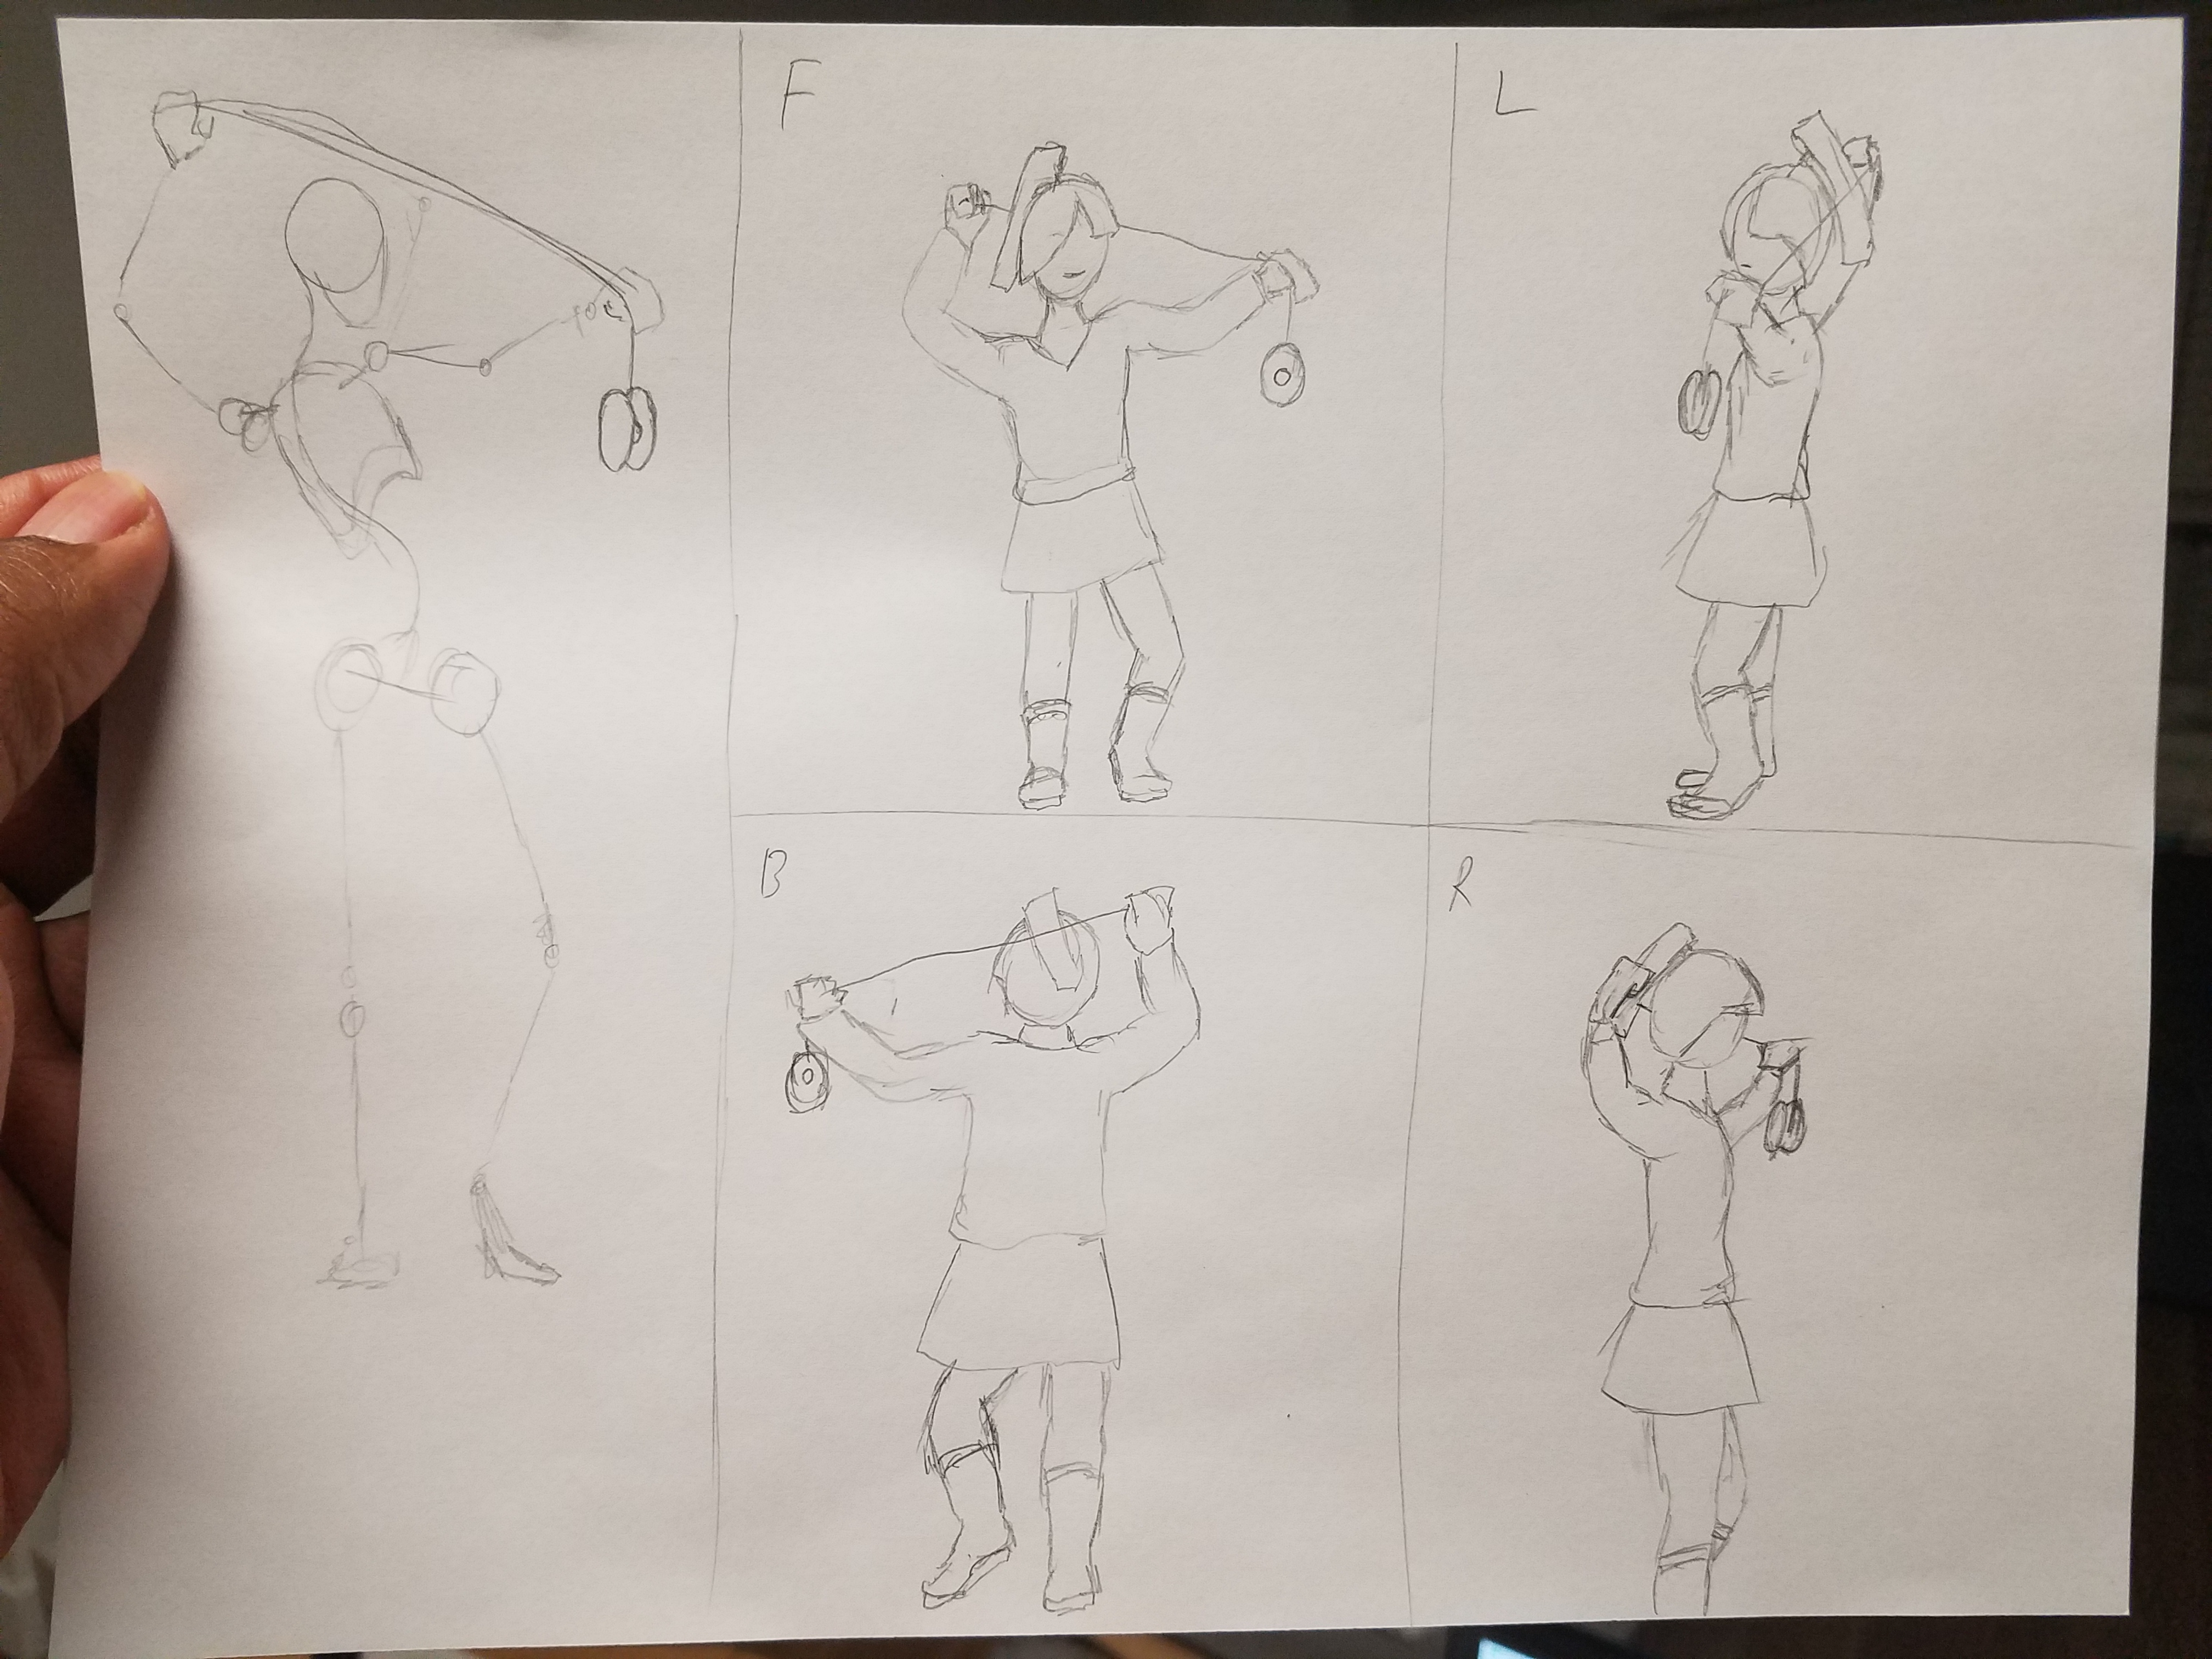
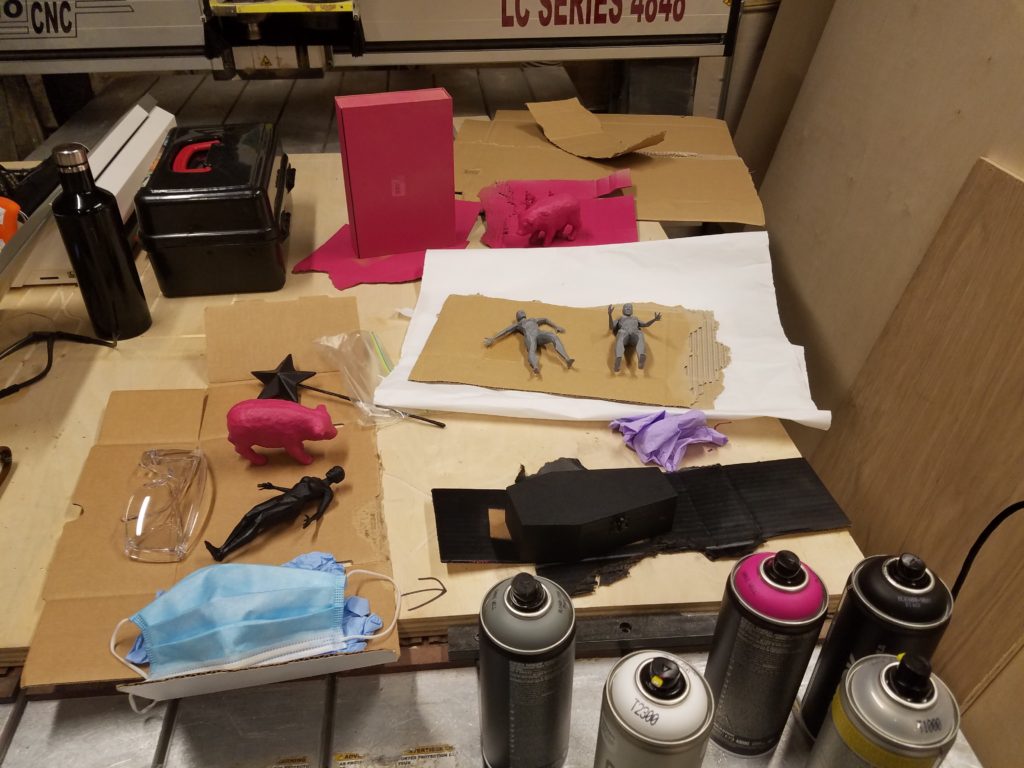
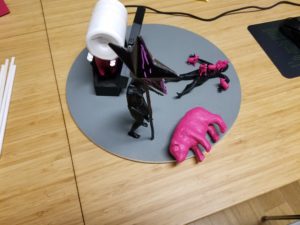
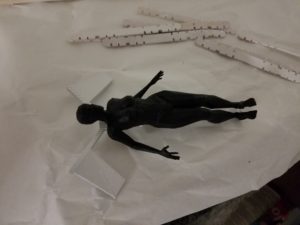
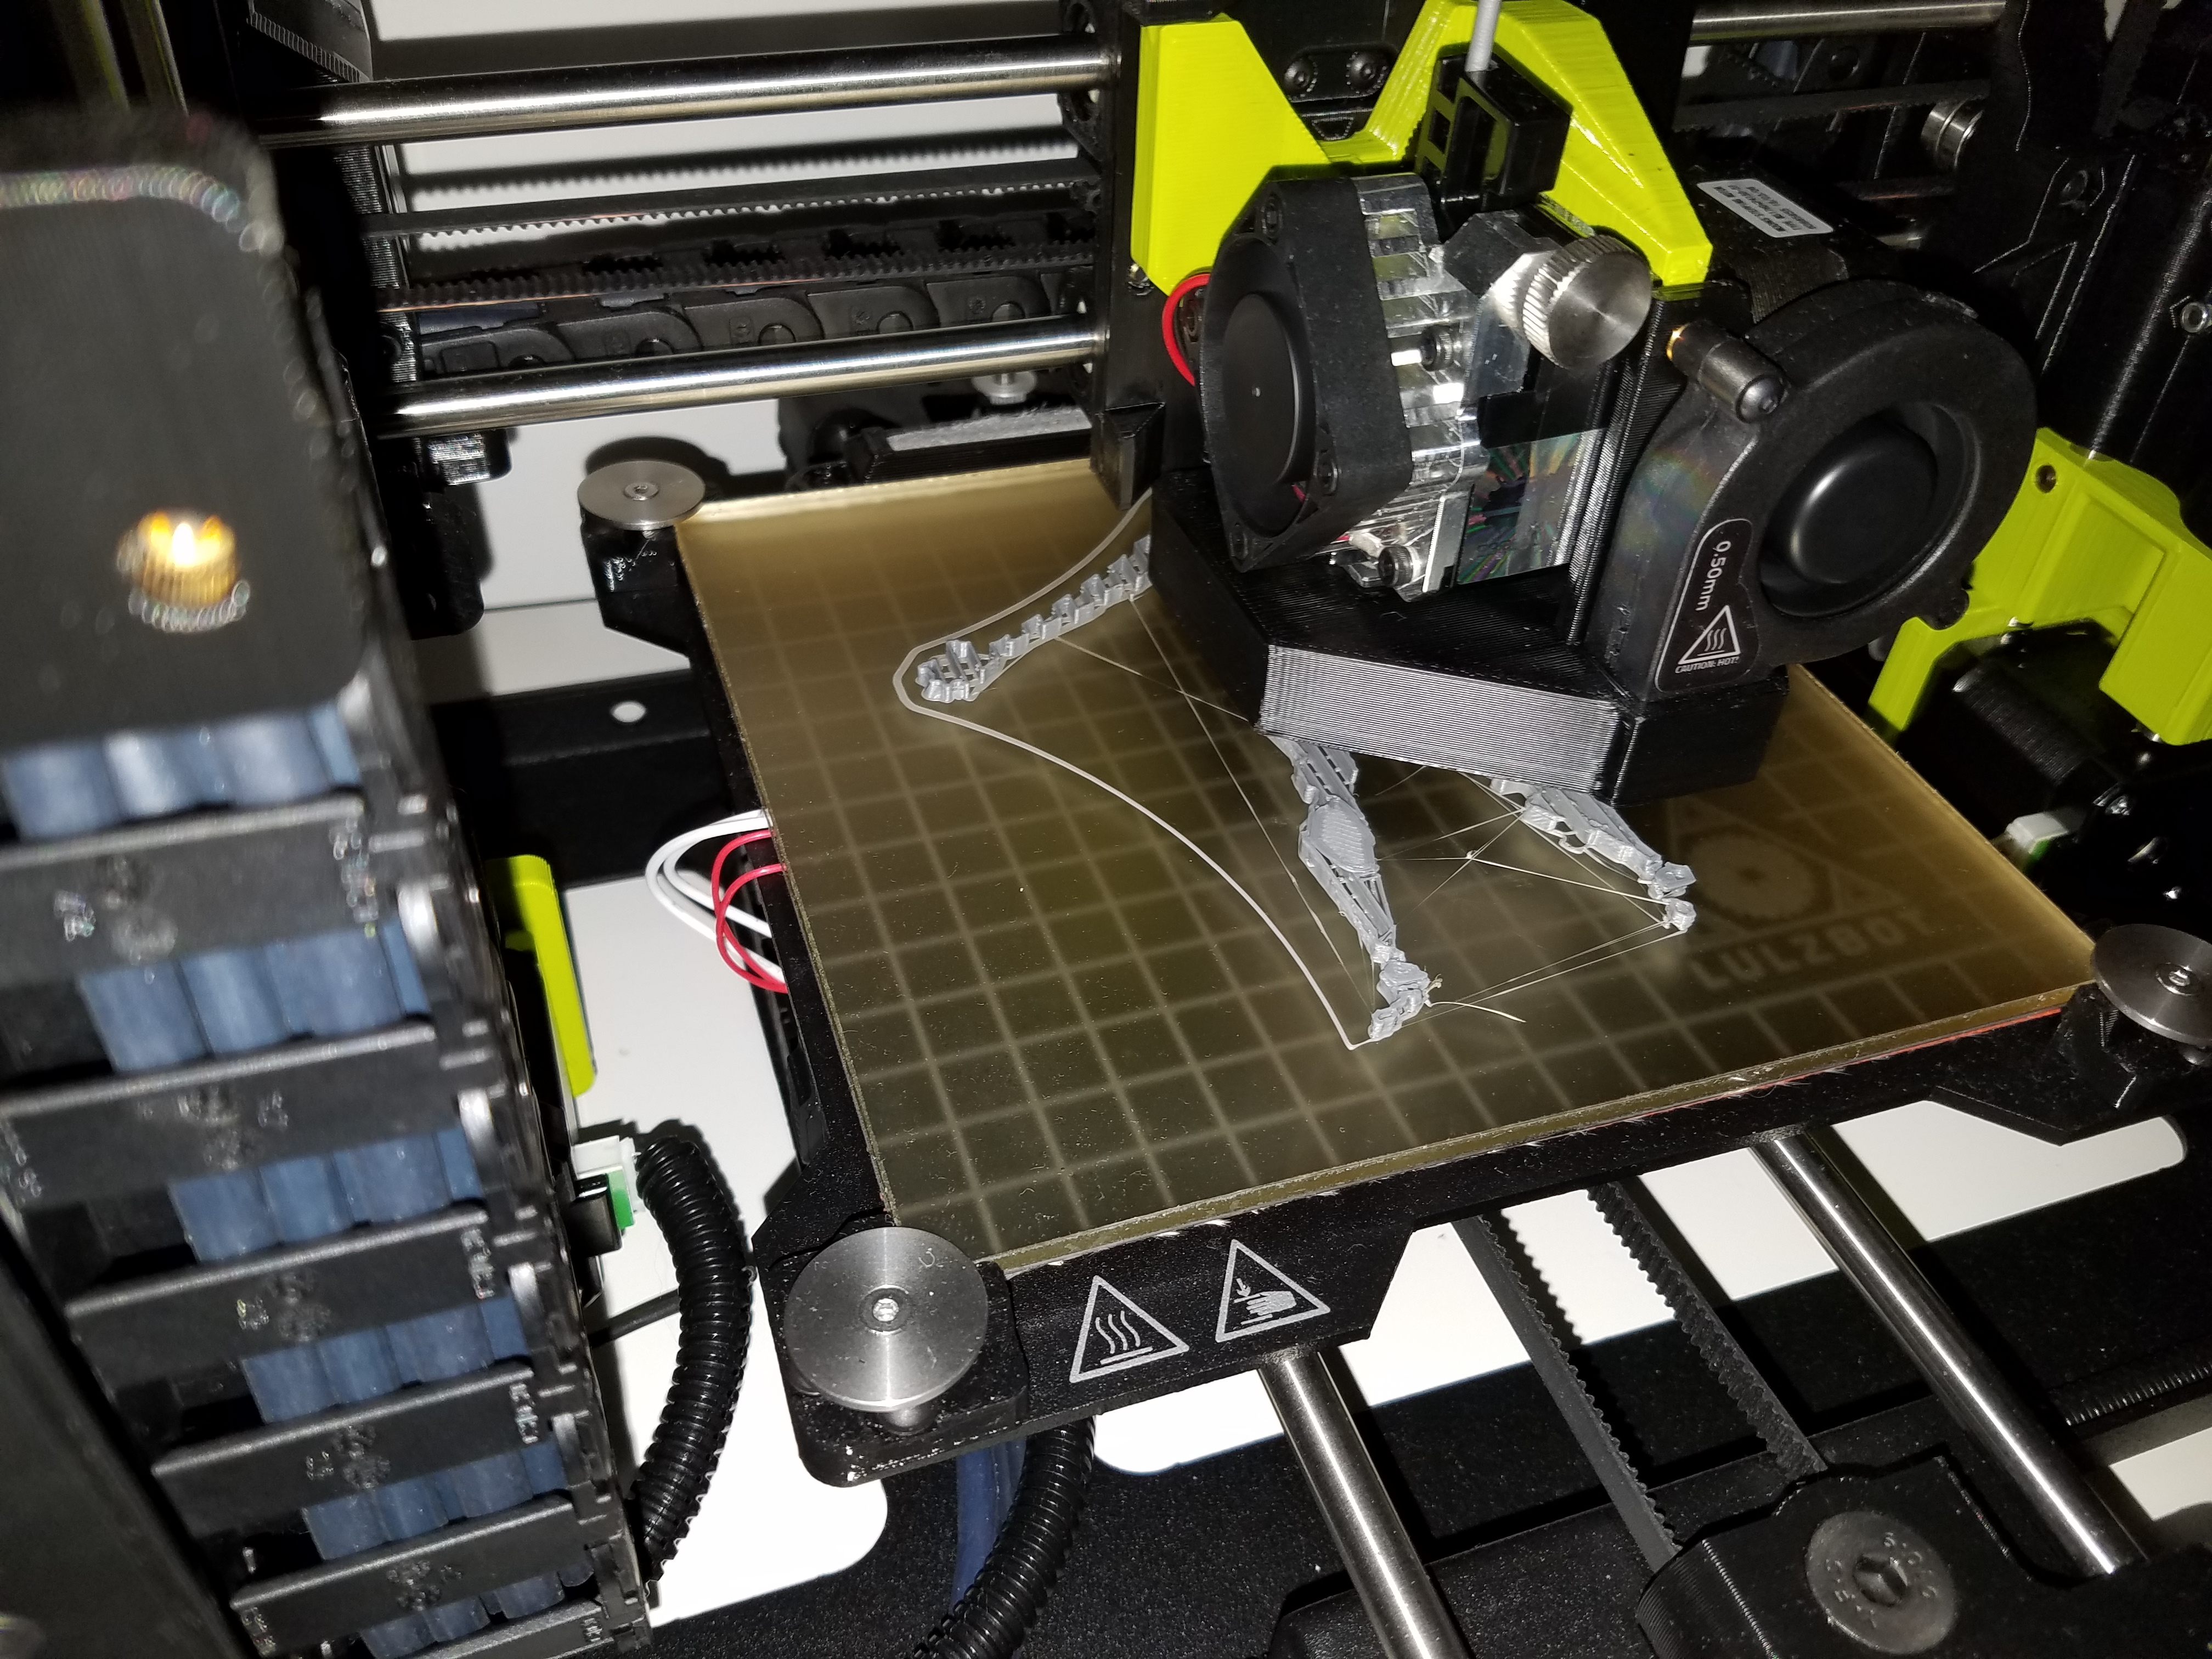
I printed out the last fairy.


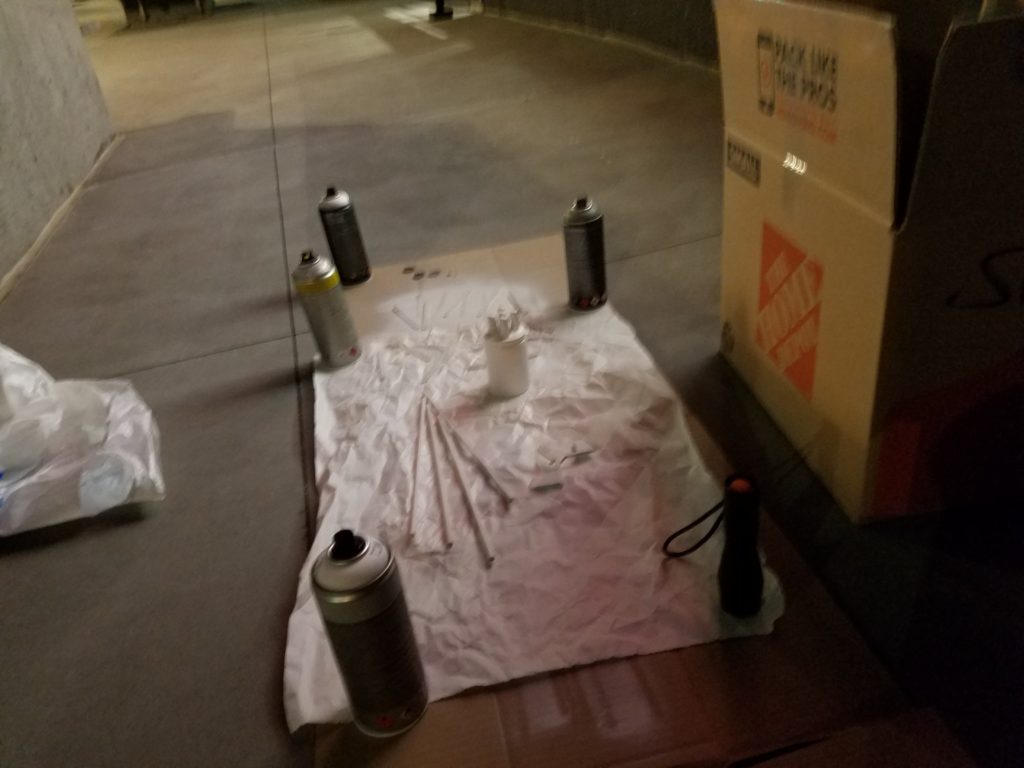
This is round 2 spray-a-thon. There were a lot of students there who planned on spraying at the same time. I got most of what I needed  sprayed, but I was loosing a lot of time. I decided to leave it for the next day.


This is the batch from ITP floor. They are drying out at home.

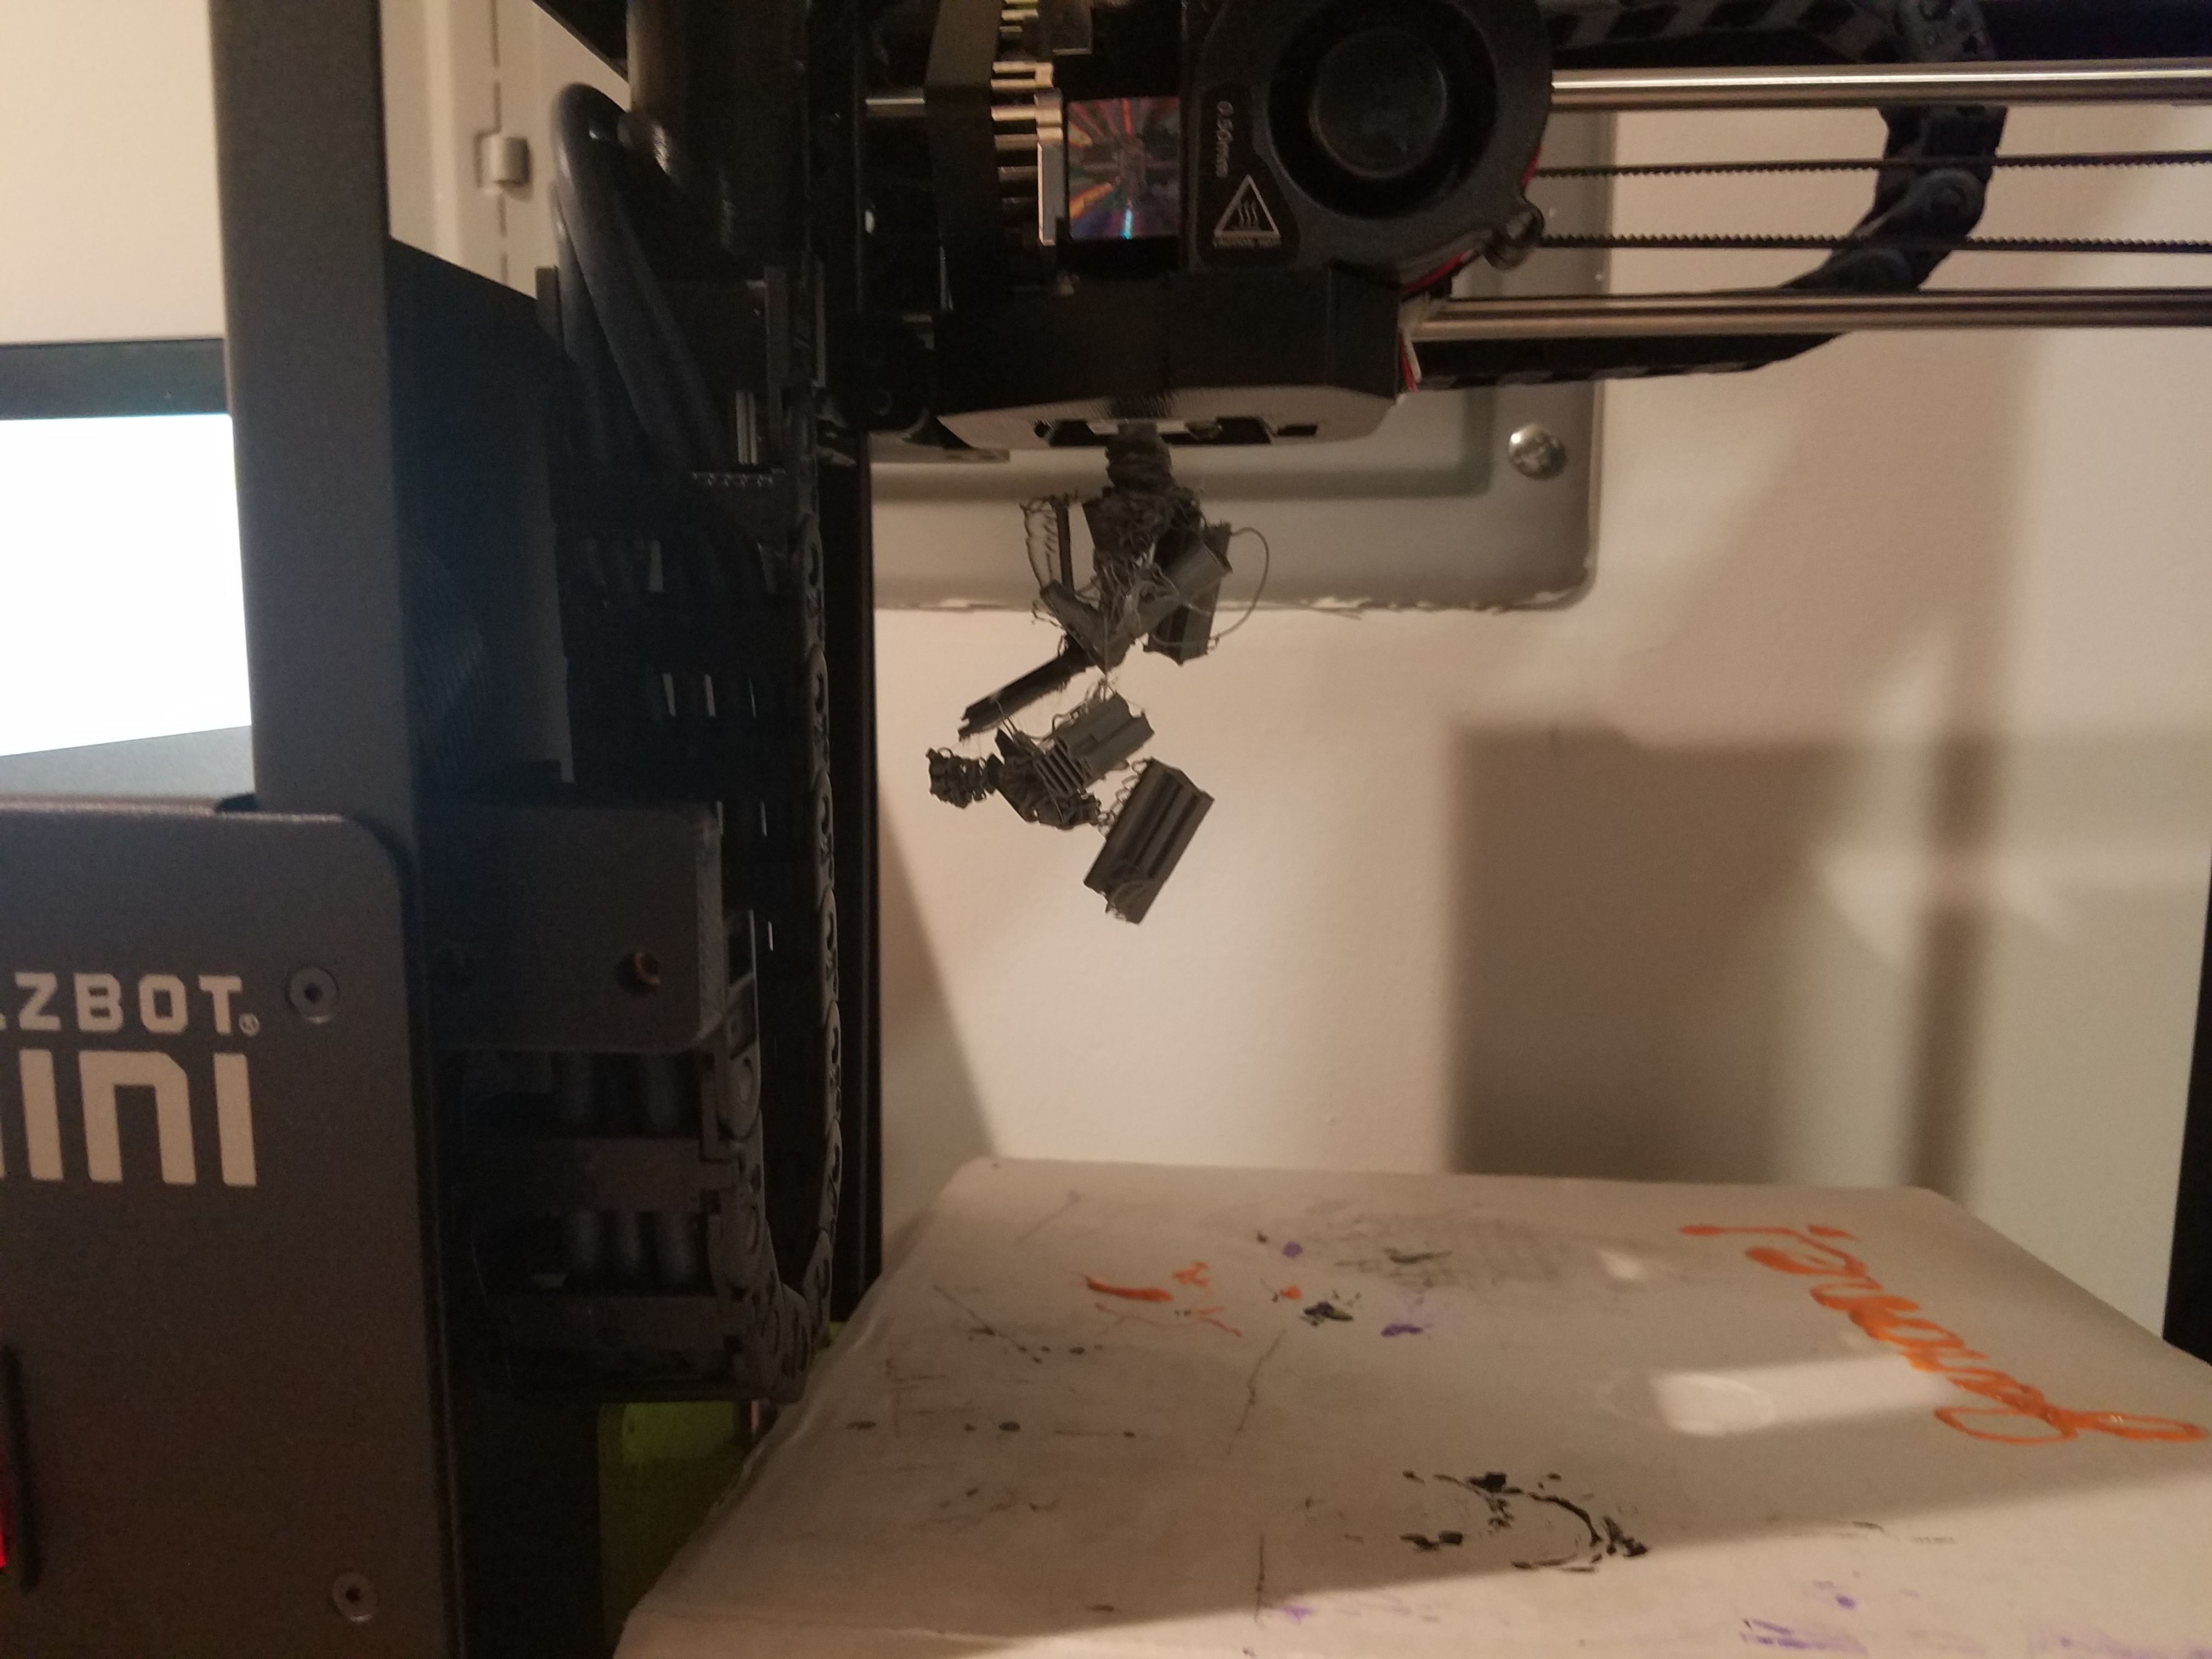
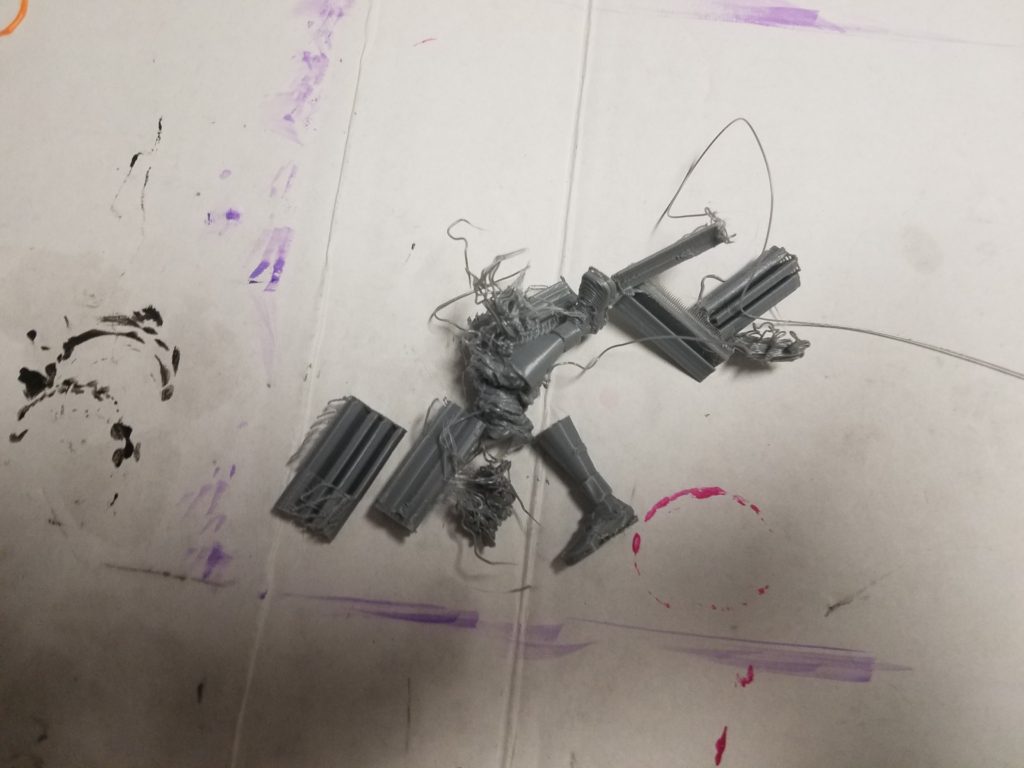
I realized I needed the wing for one of the fairies so I printed a last minute design even though two small protruding things on them messed up, I was able to salvage the main part.


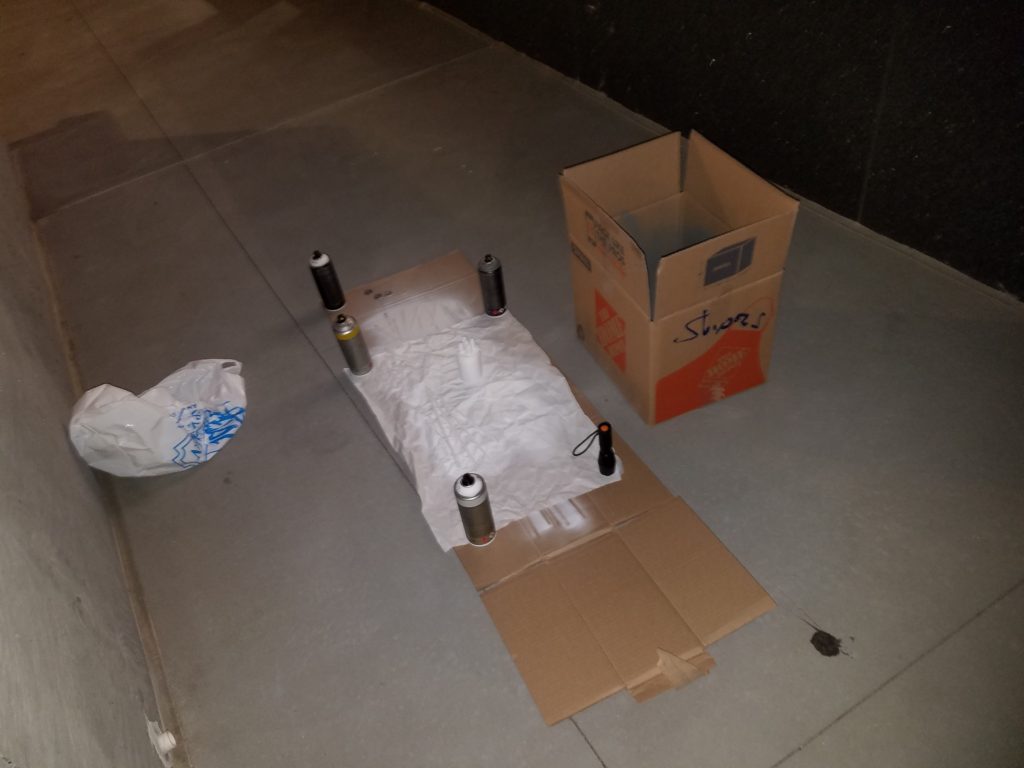
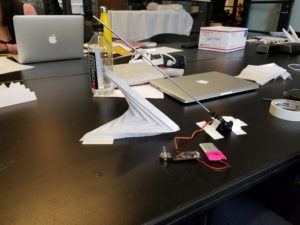
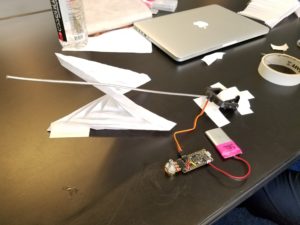
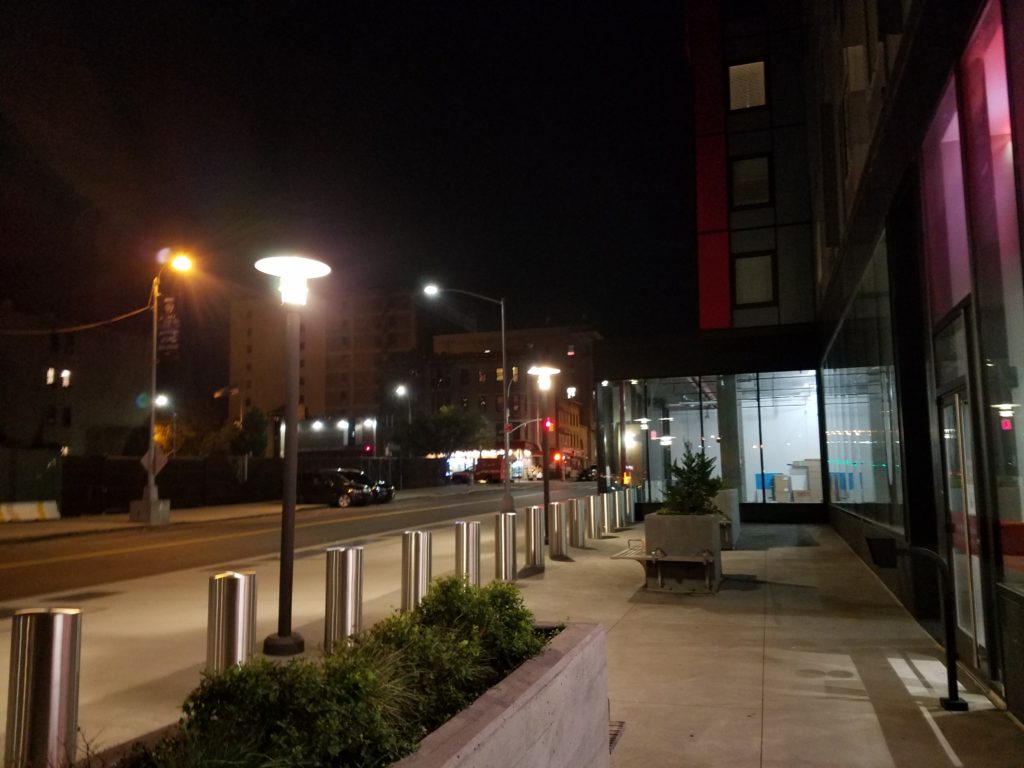
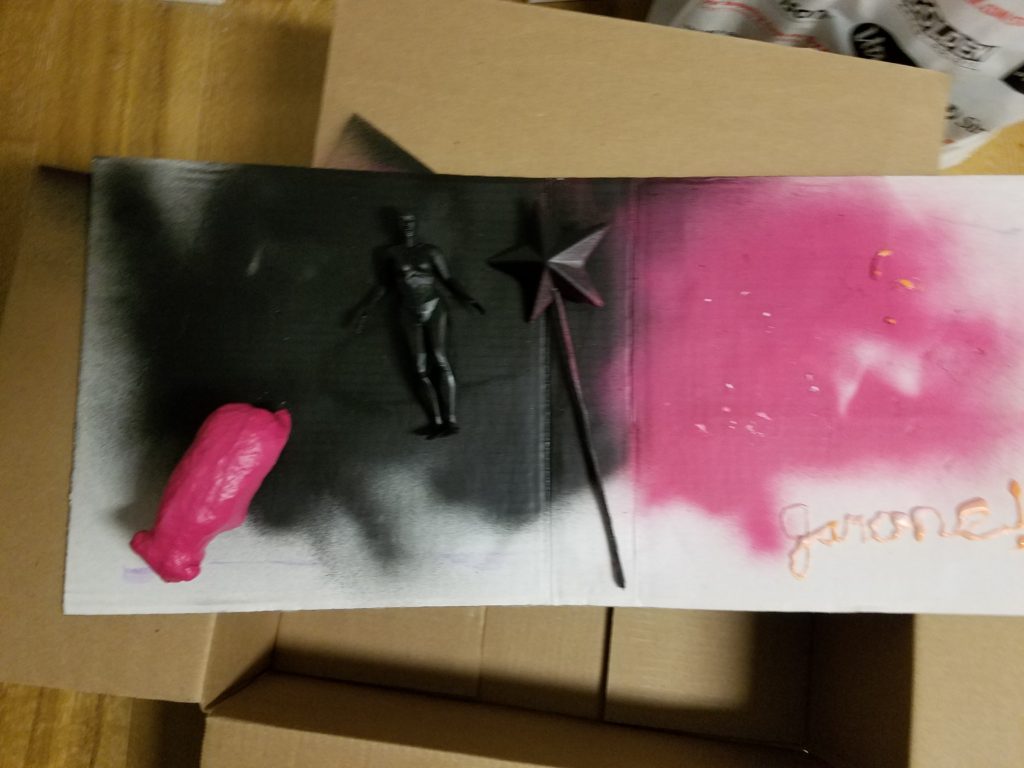
Portable ITP spray station. A semi lonely sidewalk behind Barclay’s. Not conspicuous but gets the job done. There’s a guy who used to sleep nearby  over night. Hopefully he didn’t pee in this area.

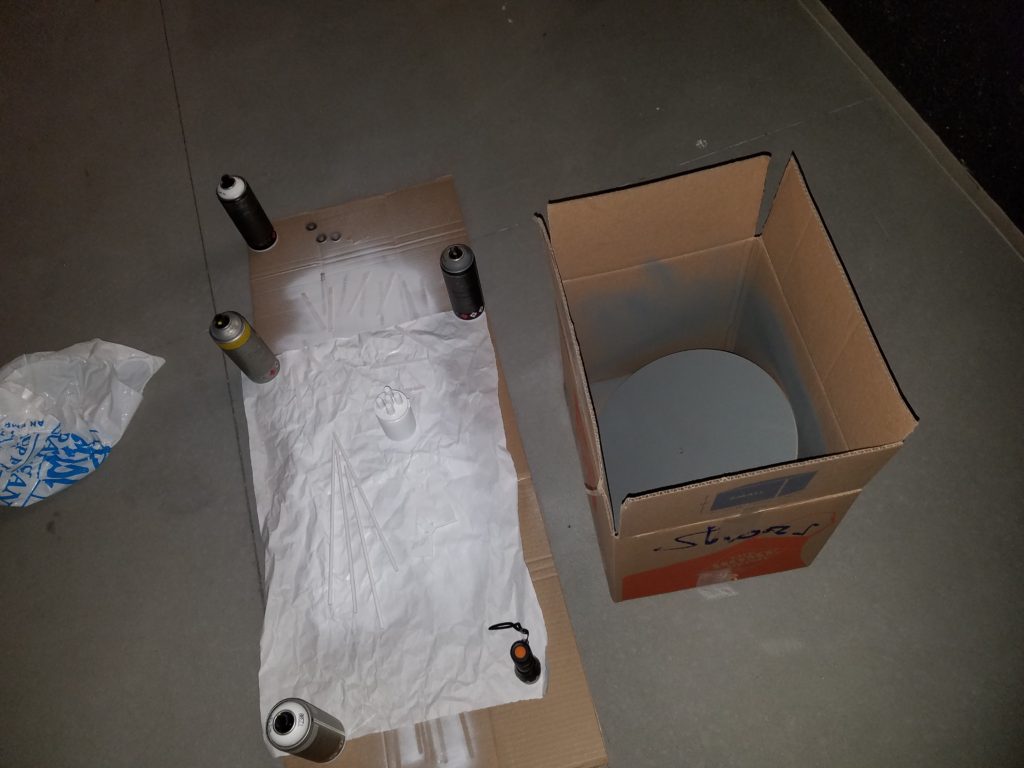
Spraying in a box is terrible. Particles swirling around for you to breath in. It was a bit windy tonight and cold.

The homeless guy used to sleep in that corner.

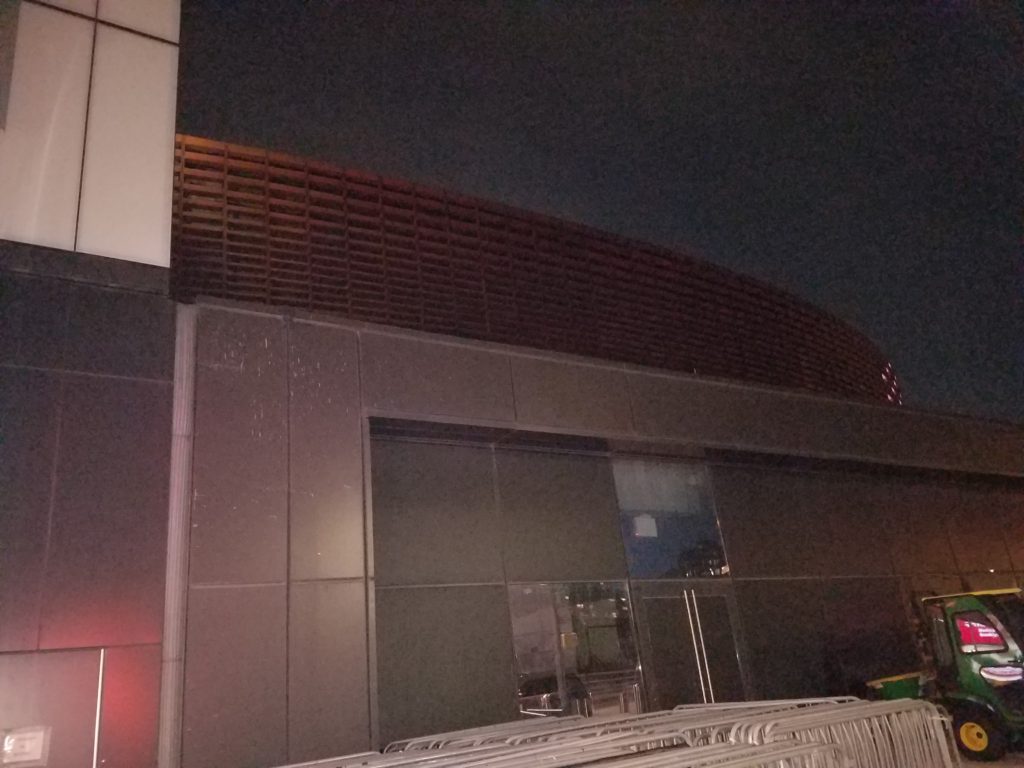
This probably wouldn’t work behind MSG.

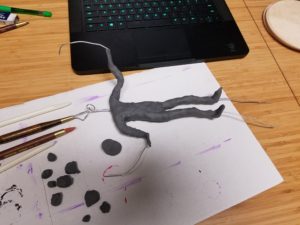
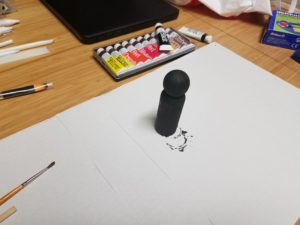
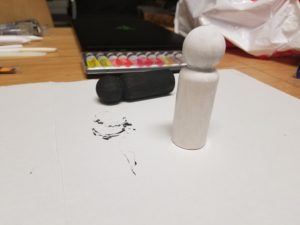
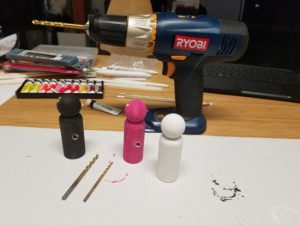
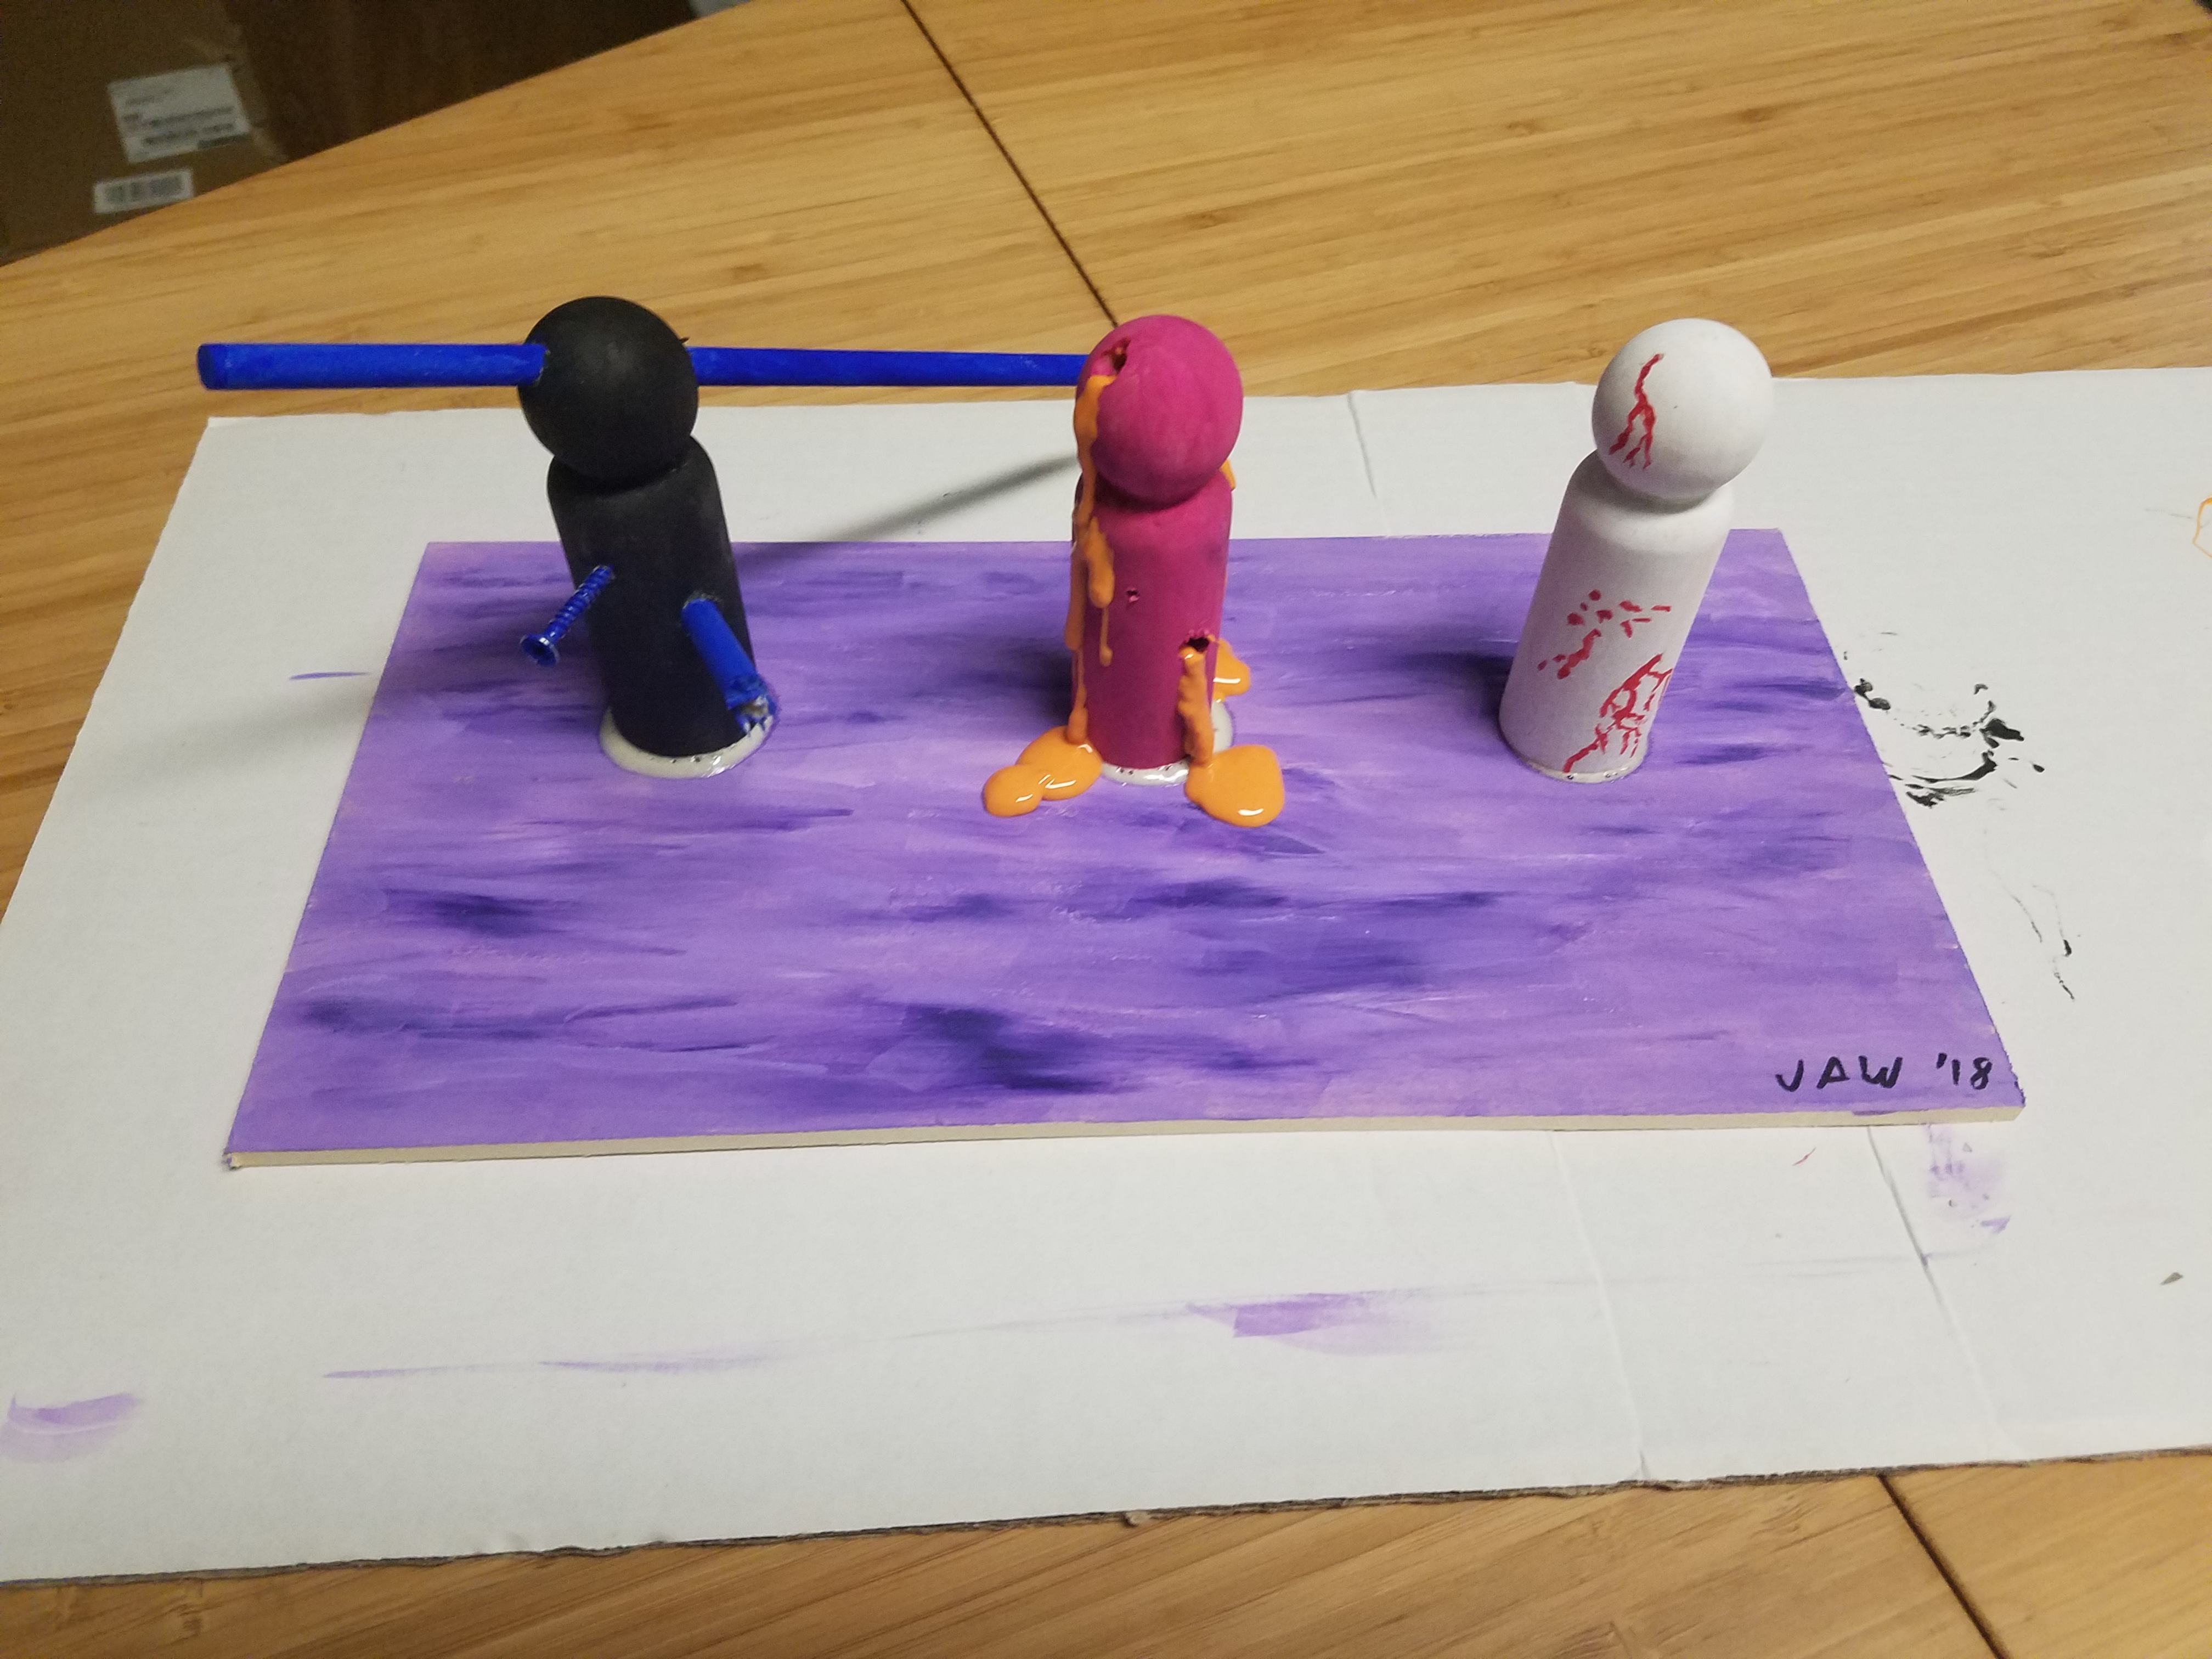
Painting some happy little sticks, that I never will use for this project!

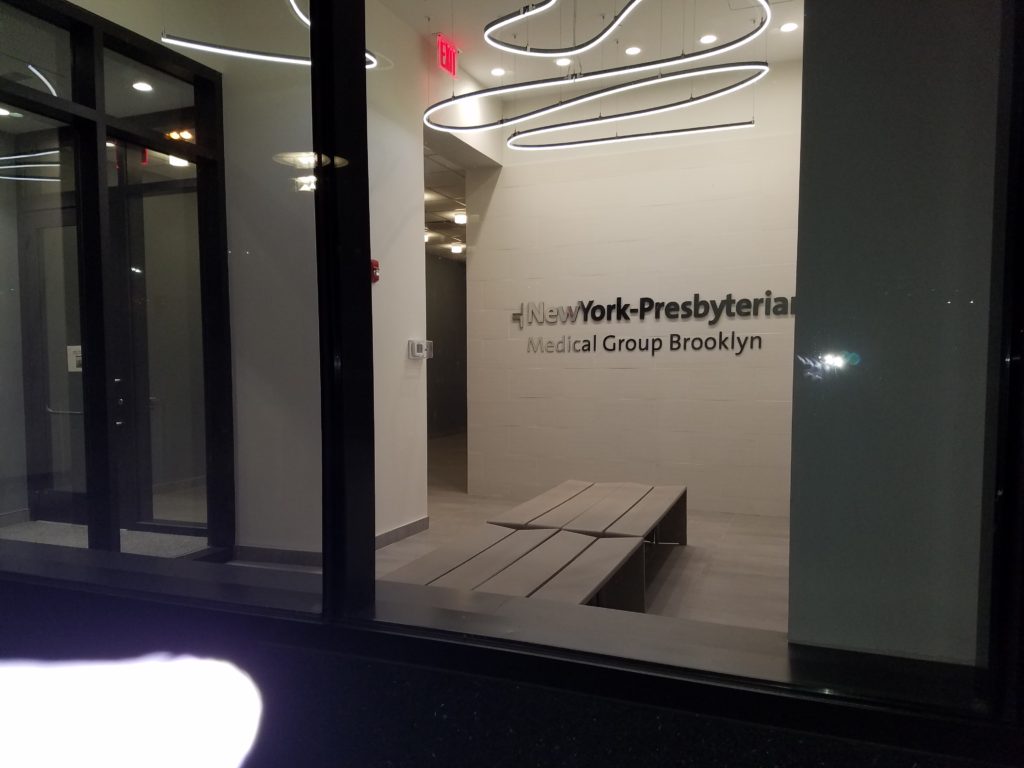
Not going to be able to do my finals here when they open.

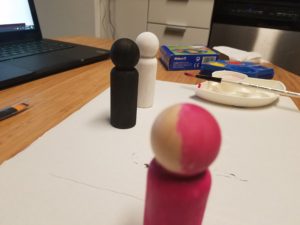
Colors look good to me.

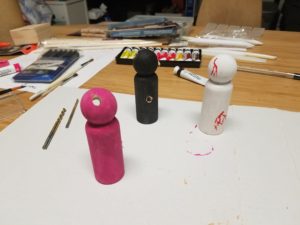
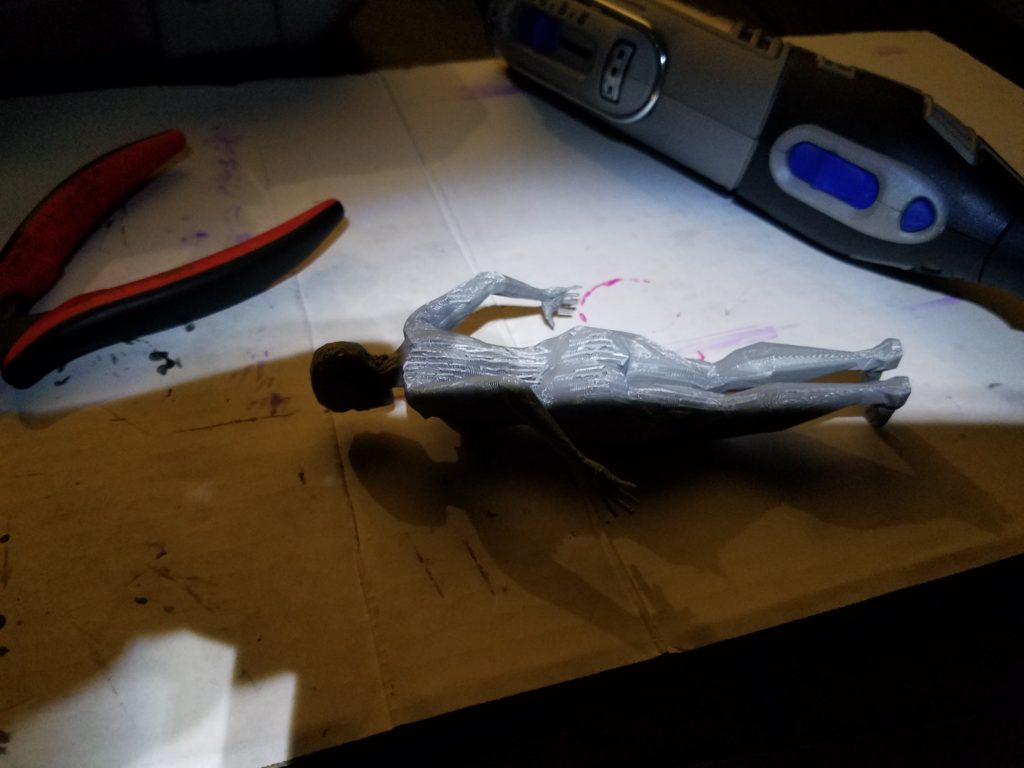
Some last minute modifications.

Some glue for your wings madam?

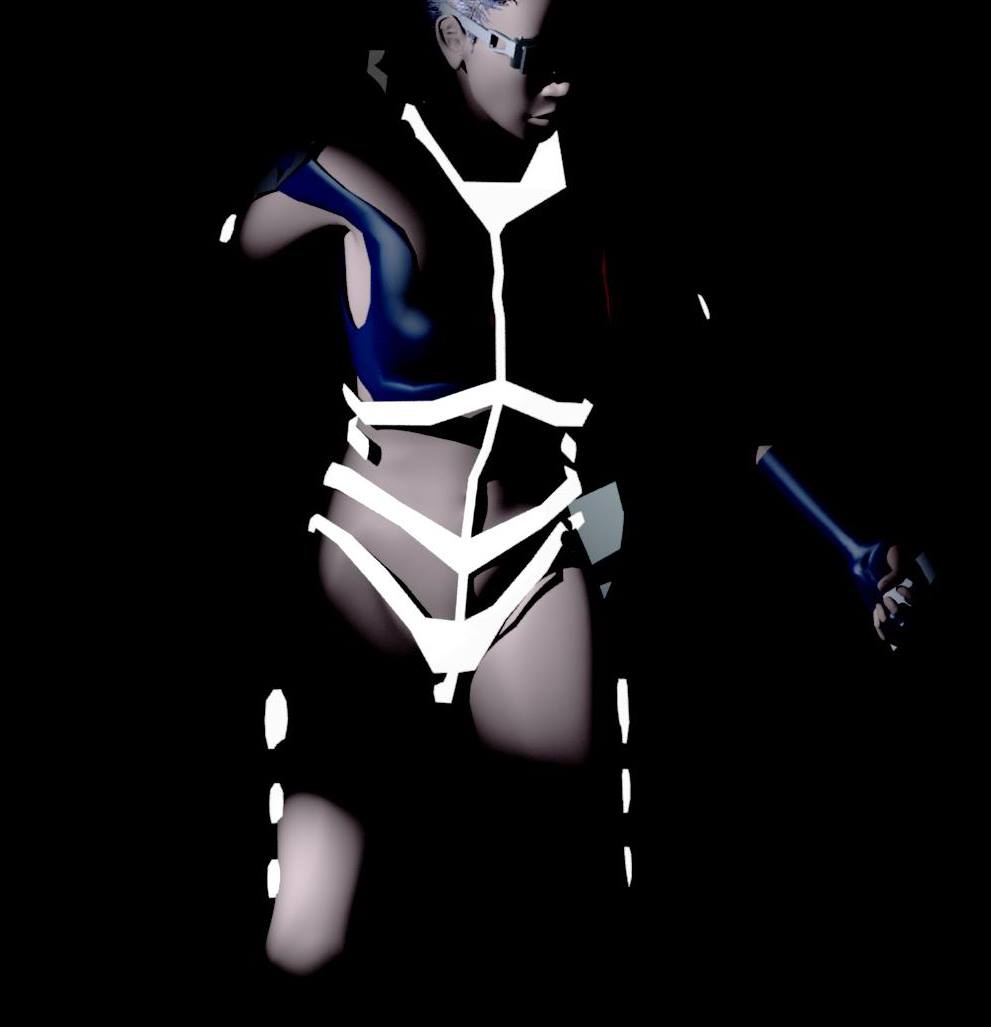
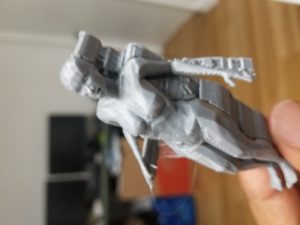
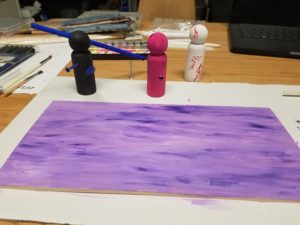
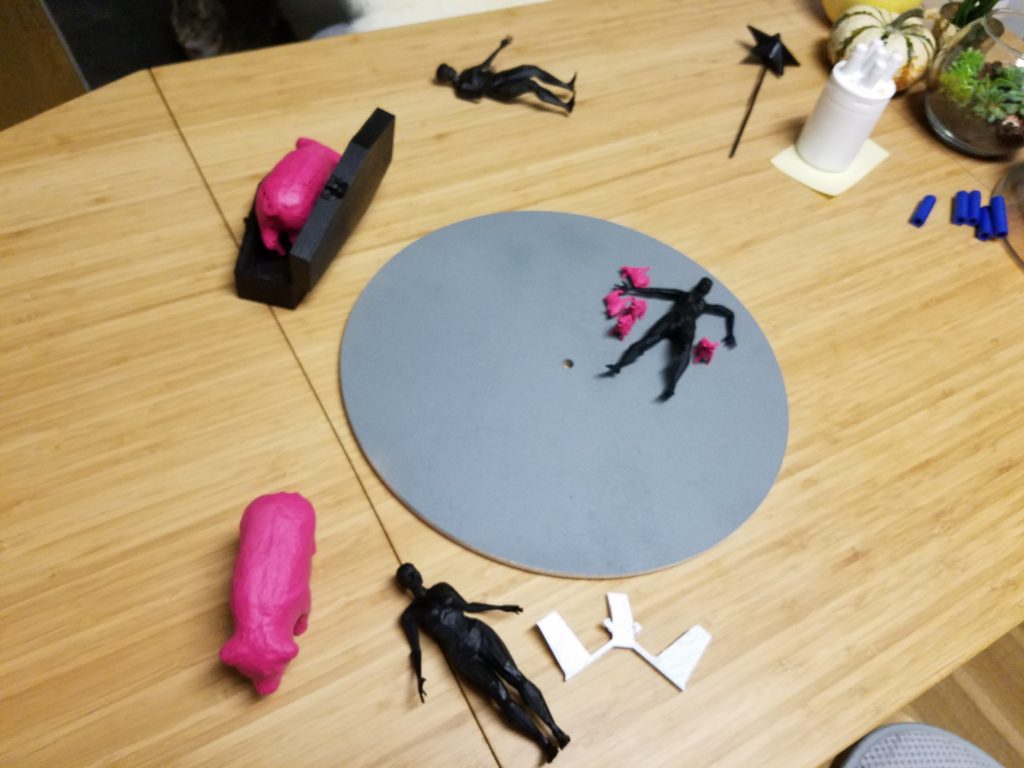
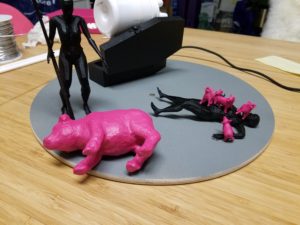
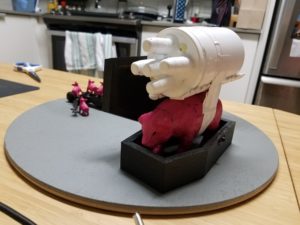
My final is called Swine Fairies, Pig Fairies, Pig Reaper?
This is definitely heavy on the composition.
We’ll see how it goes tomorrow.

Class #5 Assignment

I spray painted my assets on a shady sidewalk a block away from a police station hoping I wouldn’t get arrested or killed.


Supports save lives but also ruins print surfaces.


Those supports are such a pain to remove that I thought a Dremel would be a good investment. A multipurpose tool to do stuff… I did some grinding outside and it started to melt the PLA material.  I guess I could have continued with the Dremel put I don’t think I had the right grit bands for the job. I did some more sandpaper sanding and went back in.


I didn’t have the time to go to school to use the spray paint chimney. I don’t have a backyard, so let’s go to the sidewalk. Luckily I didn’t get noticed and cared about. Of course I was considerate and covered the concrete with cardboard. It was an interesting experience. It was dark and summery so not bad painting weather.

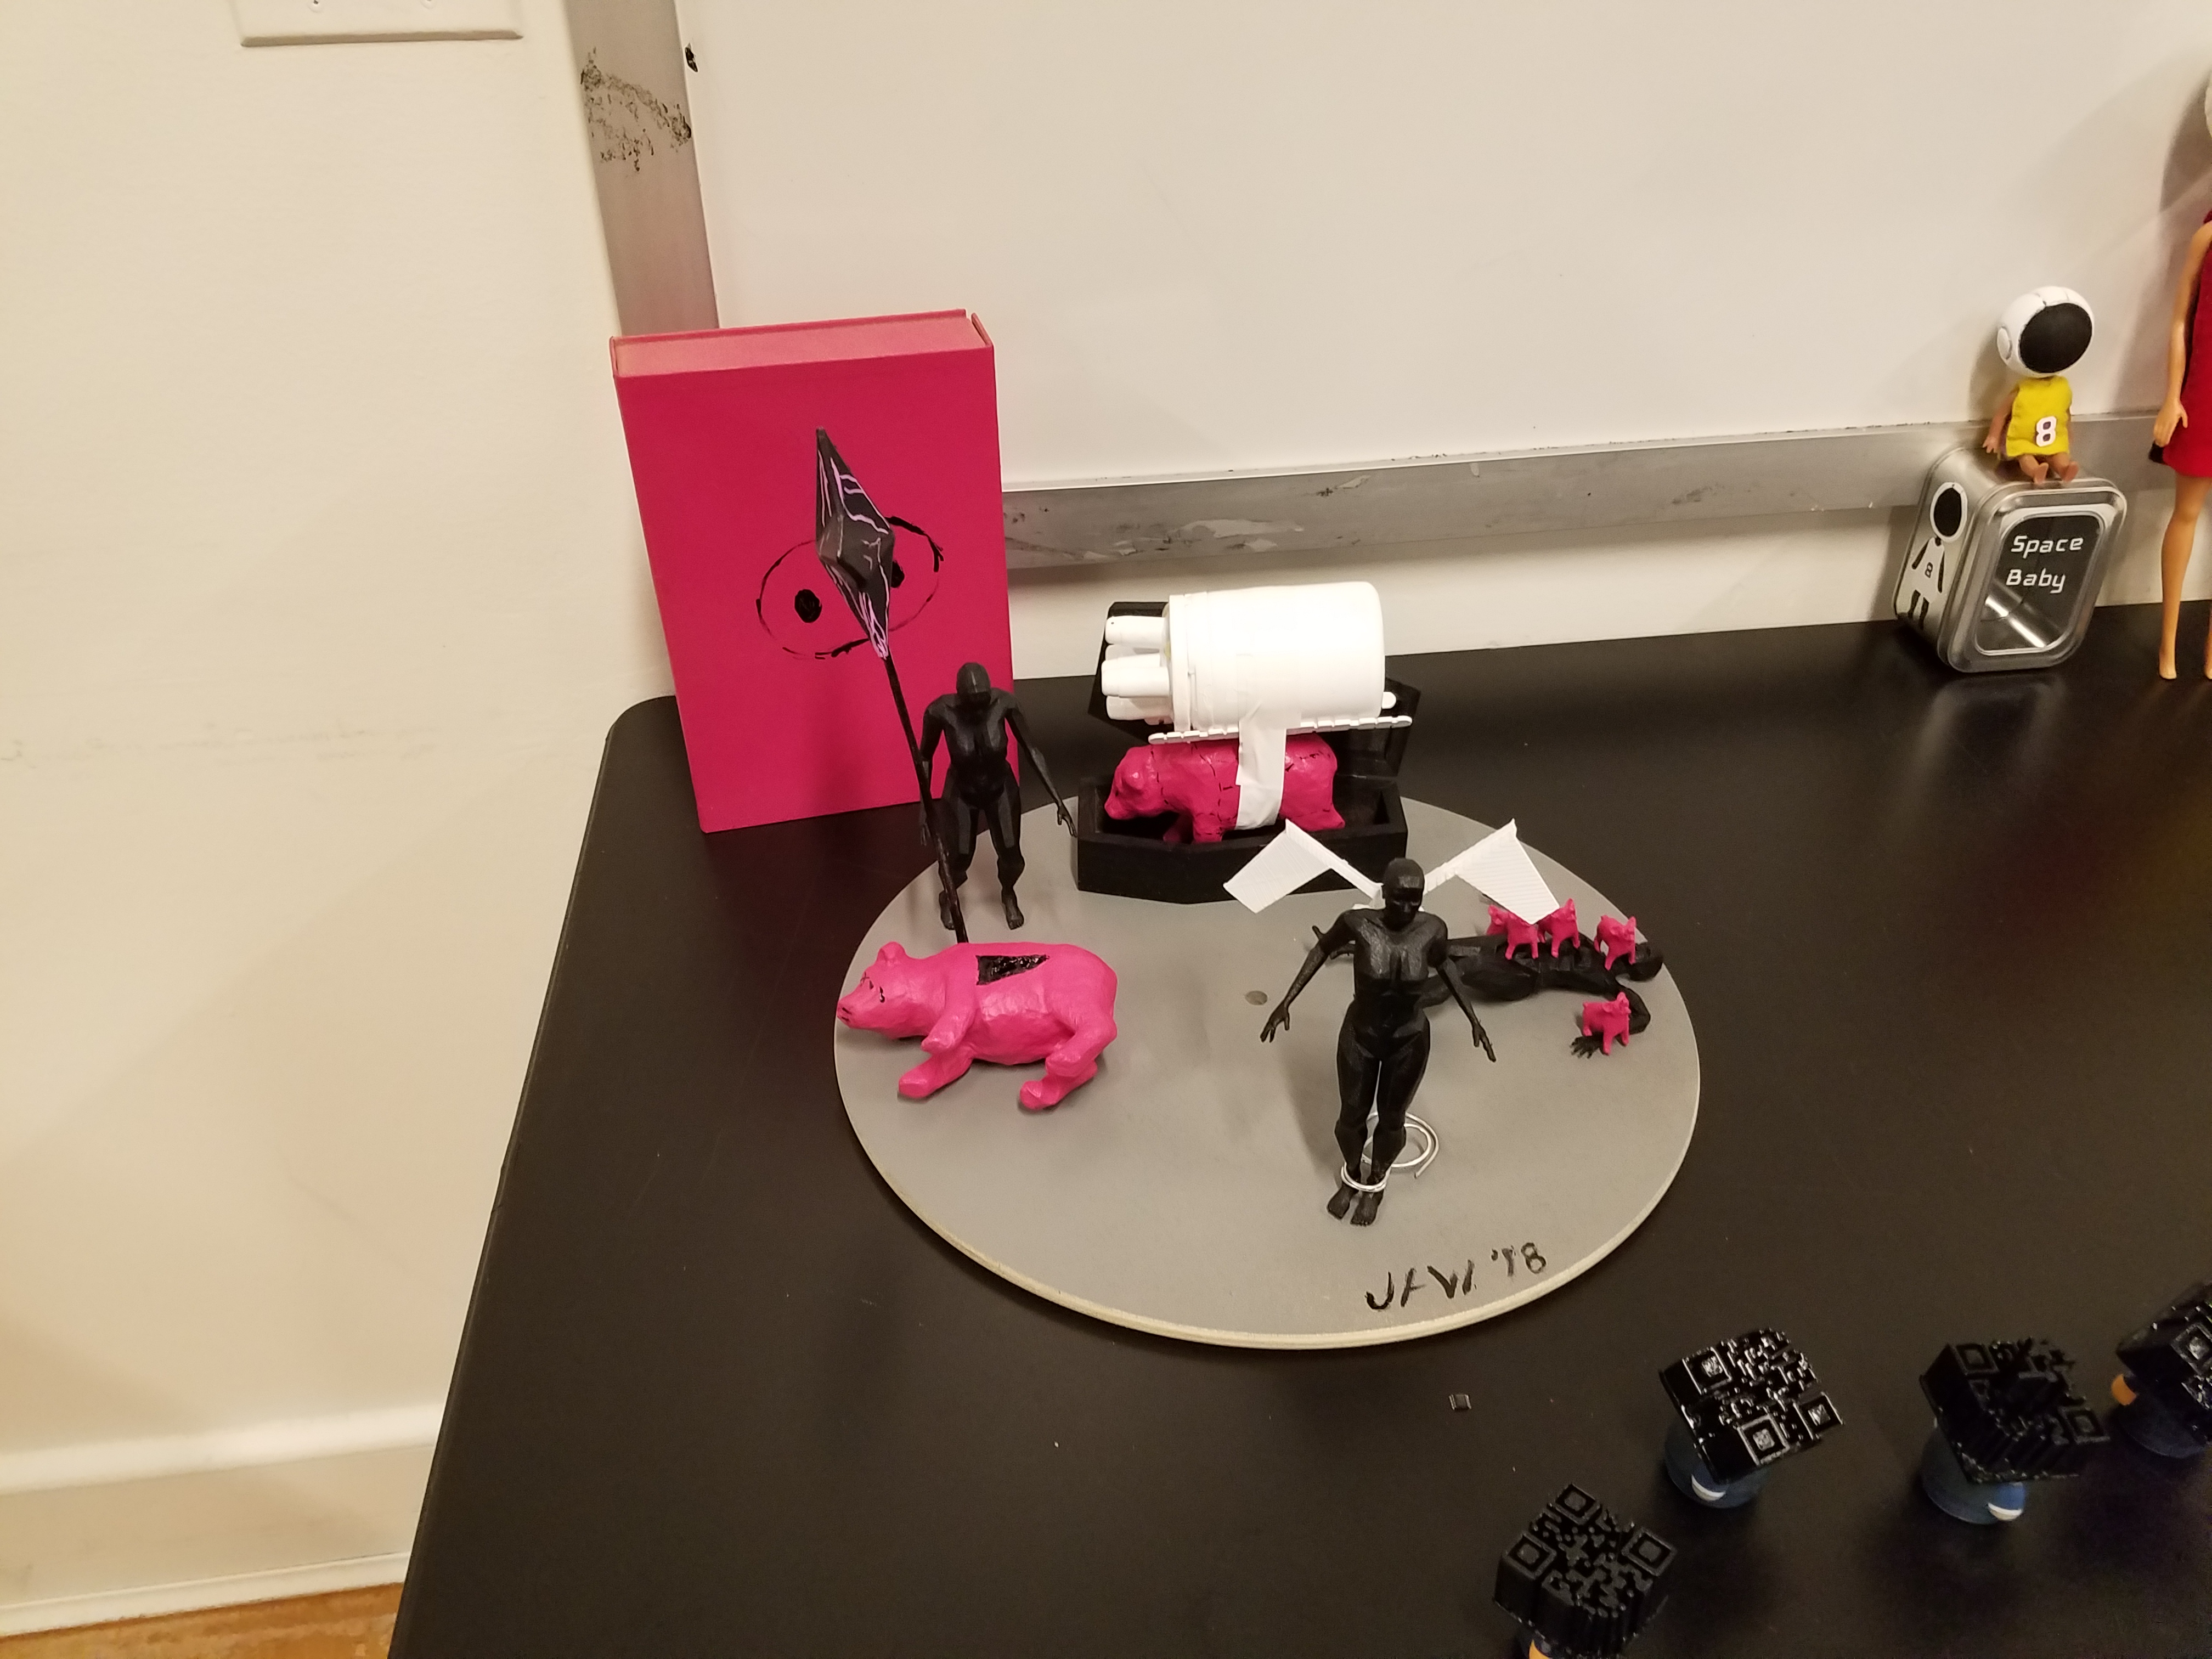
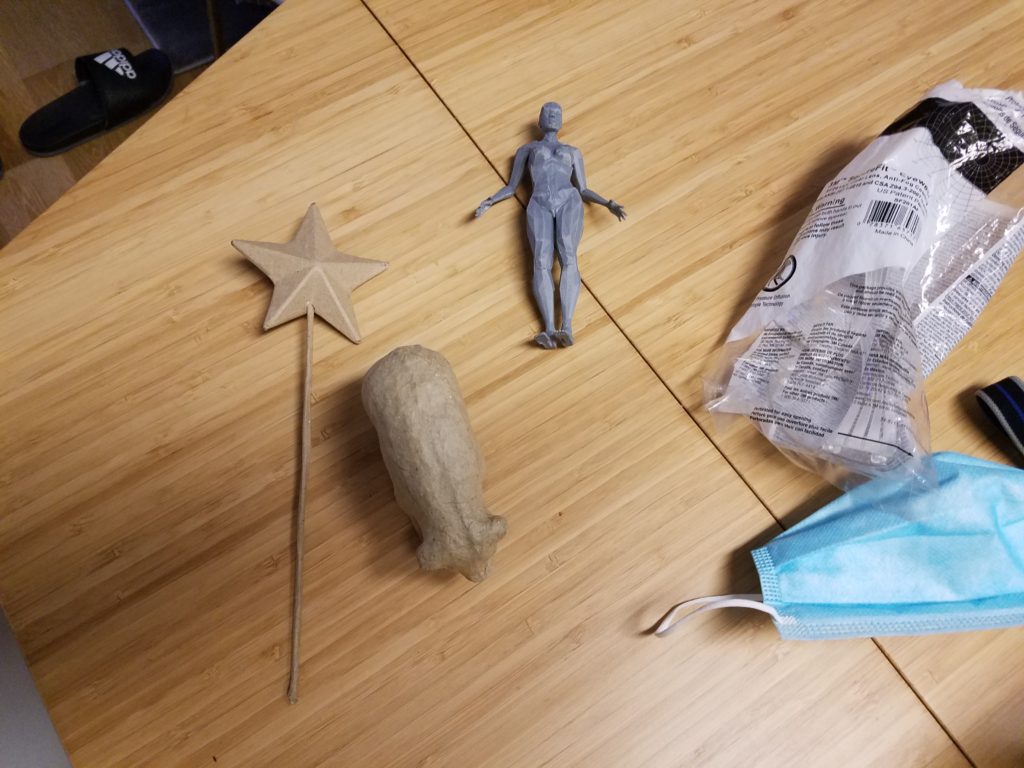
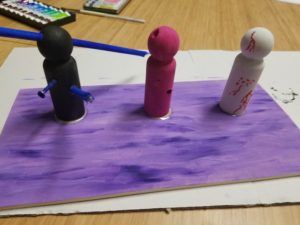
The colors work. I like the strength of them as well. Now to create the rest of the items.

Post for Week 4 Update

After some further thought about the final project, I decided to utilize 3D printing for it. I am interested in continuing making art toys on my own, and it’s easier to get my hands on a 3D printer than a laser cutter.

That being said, I wanted to use a character I created as the subject of these toys. I already created a model for her in 3D, so this would be a great way for me to continue that world in real space.

To know what to expect, or if this process would even work, I printed a small scale draft of the character.

Things seemed to be going okay until one of the support columns fell over with a crack. The nozzle knocked it over and I was a bit worried.

Rightfully so, what the heck is this?

The figure can stand on it’s own, an upside to that trial.

I then thought I could run a 5″ scale model of her and take a break.
I thought wrong. Somewhere along the process, it seemed the nozzle got tangled in a web of stringyness.

I was getting worried, because I didn’t want to think about splitting up the figure at this phase. I was also worried about the extruder having issues.

Then after some thinking I realized I was overlooking the option of printing it horizontally. That would solve some of the weird breaking, hanging, tangling issues.

One hour later the figure was complete. So minimizing Z motion on this printer seemed to reduce print time.

This print was much better than the previous. However the details are still being lost, and there are some weird artifacts. This seems inherent to the medium. Perhaps my 3D model is too detailed.

As of writing this, I started a 4 hour print job maxing out the size and detail. I want to see what is the best print the Lulzbot got spit out with my model.

I am going to create accessories for my line of toys, so it won’t just be a female figure. However I need to determine how to best finish the models now that I have an idea of their physical characteristics.


Assignment #3

For this assignment I had a bit of writer’s block combined with not planning ahead for fabrication resources.

I was drawn to some of my previous acrylic layer artwork for this week’s assignment. This is an example I did for a Nier Automata character using a laser cutter and colored acrylic sheets.

I was thinking about creating character stand ups. I would make them by cutting out the figure and bonding the detailed layers to the form. Then create a stand like some old board games have. The stand I would design would illuminate the character from below.

::Retrospective::
While I would not end up doing this for my final. I do enjoy working in this medium and would like to continue doing some experiments and character rendering using this technique.

The challenge would be to use a character and pose that compliments transparent layers. I’ve learned about some techniques like sanding and polishing that opens some new doors for doors for me.

Sculpt a Toy

Homework #2 asked us to sculpt our character design. I decided to use modeling clay to render my character. I didn’t capture many in process photos because my hands were messy with the clay residue.

I used this skeleton to measure out my wire skeleton in proportion.

I then used foil to wrap most of the body to give it an instant shape.
Clay was added to block in the figure.

A variety of sculpting tools were used. It was pretty hard using the tools. I’m not sure if I used them properly some of the time, but good ol’ finger forming seem to be very familiar to me.


The yo-yo weapon looks like a macaroon.

In the end, the pose looks okay. I will choose a different pose for future assignments. I will aim to make it more dynamic and more in line to the character I envision.

Art Toy Design – Assignment #1

Modern Pinay Protagonist – The turnaround assignment.

I decided to go with a rough character design of a young girl who fights with a yo-yo. Inspired by Filipino culture.


A Message – Wooden Blank Assignment

Against better judgement and time, I decided to create a series of characters whose fates are directly related. I used watercolor paint on the wooden dolls and platform. I used a drill to bore into them and a all purpose glue to adhere them to the platform.


As of now, I am waiting for the glue to try so I can complete the last part of it.

Social Wearables Final Project

I decided to revisit my coffee mug project for the final. I feel I could spend a lot more time exploring this idea of using an integrated microcontroller in a mug coaster. I left off with the circuit making noise when the mug is down too long. Since time was short, I committed myself to programming the Circuit Playground Express with no additional sensors again.

My revised idea is to have a visual indicator giving you a sense of how long you have been holding or drinking your coffee. Before I go further into the project describe what I’ve programmed the microcontroller to do.

When it is turned on, it begins to count and the neopixels on board turn from green to orange to red. Once it turns red it will stay that way until the user intervenes. Also note that I only enabled half the pixels because it would otherwise interfere with my light sensor.

So the pixels are red, so what? The only way to reset back to the initial state with the lights off is to either make a loud enough noise or block enough light from reaching the device.

What does this have to do with my coffee?
I’ve run into a lot of articles about how Markle, the Duchess of Sussex, has been adapting to royal etiquette. Also in general living in an international city, I’ve seen a lot of students unsure about some social norms here. I thought it would be fun to explore this concept with devices. Being that drinking beverages in a social setting is a universal norm.

This training device encourages your sips to be purposeful and quick. You don’t want to offend your companion with blinding red lights when they are mid-sentence. Enter the Flow Pause. The Flow Pause is a device that not only controls the speed of your beverage consumption to a polite level, but it also makes sure your free to talk when you are expected to.


Social Wearables – Kinetic Body Extensions

For the third class we moved in the realm of kinetic body extensions. To begin or journey into this world we started by folding patterns into paper to make 3 dimensional surfaces. These patterns allow the paper to be manipulated with certain behaviors.

I enjoy working with paper. As a child I remember making ninja stars, guns, footballs and fortune telling devices with them. It’s also a cheap and readily available medium for prototyping.

Social Wearables: Body Language Project

While in a cafe helping my friend with a project, I found that I had a hard time managing my coffee sip intervals. The pacing was also weird because I would have to interrupt the conversation to pick up and drink the coffee.

What if there was a way to adjust my behavior by having an impartial timer indicate when it’s been too long between sips. I used a Circuit Playground Express to prototype my idea. I used a light sensor and the on-board buzzer to indicate when the coffee cup has been in the coaster for over 5 seconds. The buzzer resets once I remove the coffee to drink.


Social Wearables: Nudgeables Team Assignment

What happens when you mix a secret office romance with nudgeable technology? You get 2 fashionable but inconspicuous nudging devices on your waist.

The user story is about two coworkers who work for two rival factions in an ad agency. Their offices are on the same floor, but they are forbidden to have romantic relationships, let alone even converse with each other.

Enter the Belt of Nudgliness. This belt allows both coworkers to send discrete communications to each other while avoiding nosey looks from other employees. You can let your partner know that you are thinking about them without directly seeing them or leaving any physical evidence.

Both parties secure the Belt of Nudgliness to their waists. Within the belt their is a button to send a radio transmission as well as buzzer that will vibrate when it is received.

My team had several ideas about hidden communications that can happen in a work environment, but felt going the secret romance route would be an easy sell.